

Results 2,521 to 2,530 of 8348
 210Likes
Thread Information
Users Browsing this Thread
There are currently 1 users browsing this thread. (0 members and 1 guests)
 LinkBack URL
 About LinkBacks
-
10-13-2012, 06:08 PM #2521Senior Member


- Join Date
- May 2007
- Location
- South West Florida (Behind friendly lines but still in Occupied Territory)
- Posts
- 117,696
Monday, October 8, 2012
35 Lifechanging Ways To Use Everyday Objects
http://www.buzzfeed.com/peggy/35-lifechanging-ways-to-use-everyday-objects
The Homestead Survival: 35 Lifechanging Ways To Use Everyday ObjectsJoin our efforts to Secure America's Borders and End Illegal Immigration by Joining ALIPAC's E-Mail Alerts network (CLICK HERE)
-
10-13-2012, 06:10 PM #2522Senior Member
- Join Date
- May 2007
- Location
- South West Florida (Behind friendly lines but still in Occupied Territory)
- Posts
- 117,696
DIY Pumpkin Spice Facial
By gerbermom / October 2, 2012
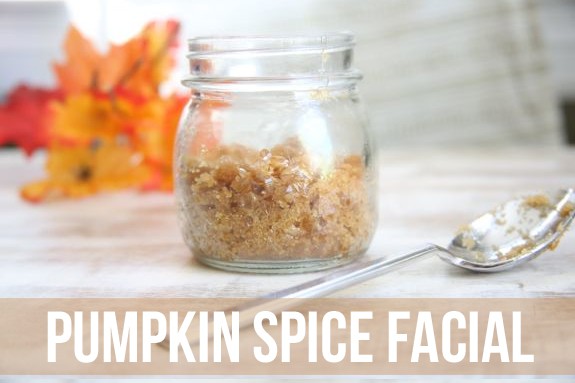
I remember reading last year about a fancy spa offering a pumpkin spice facial and thinking how divine that sounded. If you can make lip gloss with it, surely pumpkin spice good for the rest of your body too, right? Plus I am always opening cans of pumpkin puree and then wondering what to do with the leftovers. This is a great way to use it up!
Pumpkin Apple Mask
I had no idea that pumpkin was so great for your skin. But it has lots of antioxidants and alpha hydroxy acids that gently exfoliate and moisturize at the same time. And apples, the other great fall ingredient, have lots of natural fruit acids that get rid of old skin cells.
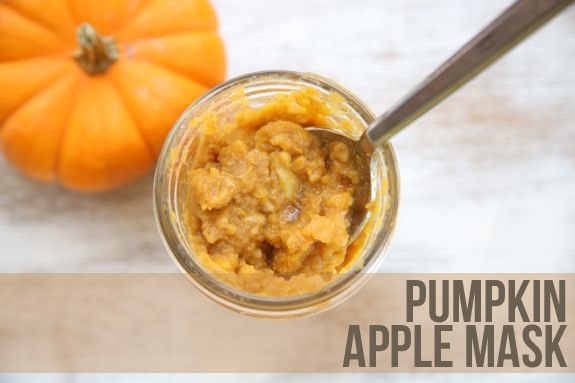
What Youll Need:
- 1/2 green apple
- 1/4 cup pumpkin puree
- 1 tablespoon honey
- 1 to 2 tablespoons milk
- Dash of cinnamon
How to Prepare Your Mask:
Peel and chop the apple. Put it in the blender with the pumpkin until you have a smooth consistency. Add in the honey and milk. Slather on your face and neck (avoid the eyes) and enjoy a pumpkin spice latte while it sits for 15 minutes. Store the extra mask mixture in a sealed container in the fridge for up to 2 weeks or have a tasty snack!
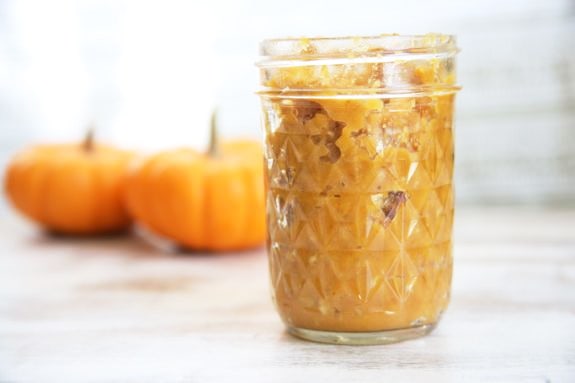
When youre ready to wash it off, hit the shower with a Cinnamon Brown Sugar Scrub.
Cinnamon Brown Sugar Scrub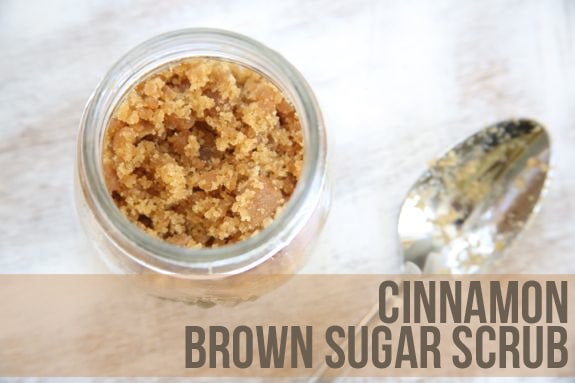 What youll need:
- 1/2 cup brown sugar
- 1 teaspoon vanilla extract
- Almond or olive oil
- 1/4 teaspoon cinnamon
Mix the brown sugar and cinnamon together until combined. Then slowly add your oil until the mixture sticks together but isnt too runny. Stir as you go until you get the right texture. (I used way too much oil the first time I made this so go slow and add more sugar if needed.) Finish by adding the vanilla and youre ready to scrub! This is best used on your body but it can be used for the face too if youre extra gentle.
Enjoy smelling a bit like pumpkin pie the rest of the day! Do you have any fun fall beauty treatments? Please share!
DIY Pumpkin Spice Facial - Henry HappenedJoin our efforts to Secure America's Borders and End Illegal Immigration by Joining ALIPAC's E-Mail Alerts network (CLICK HERE)
-
10-13-2012, 06:20 PM #2523Senior Member
- Join Date
- May 2007
- Location
- South West Florida (Behind friendly lines but still in Occupied Territory)
- Posts
- 117,696
Wednesday, January 11, 2012
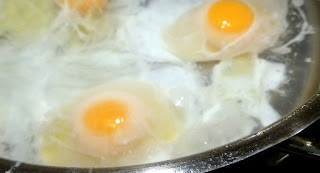
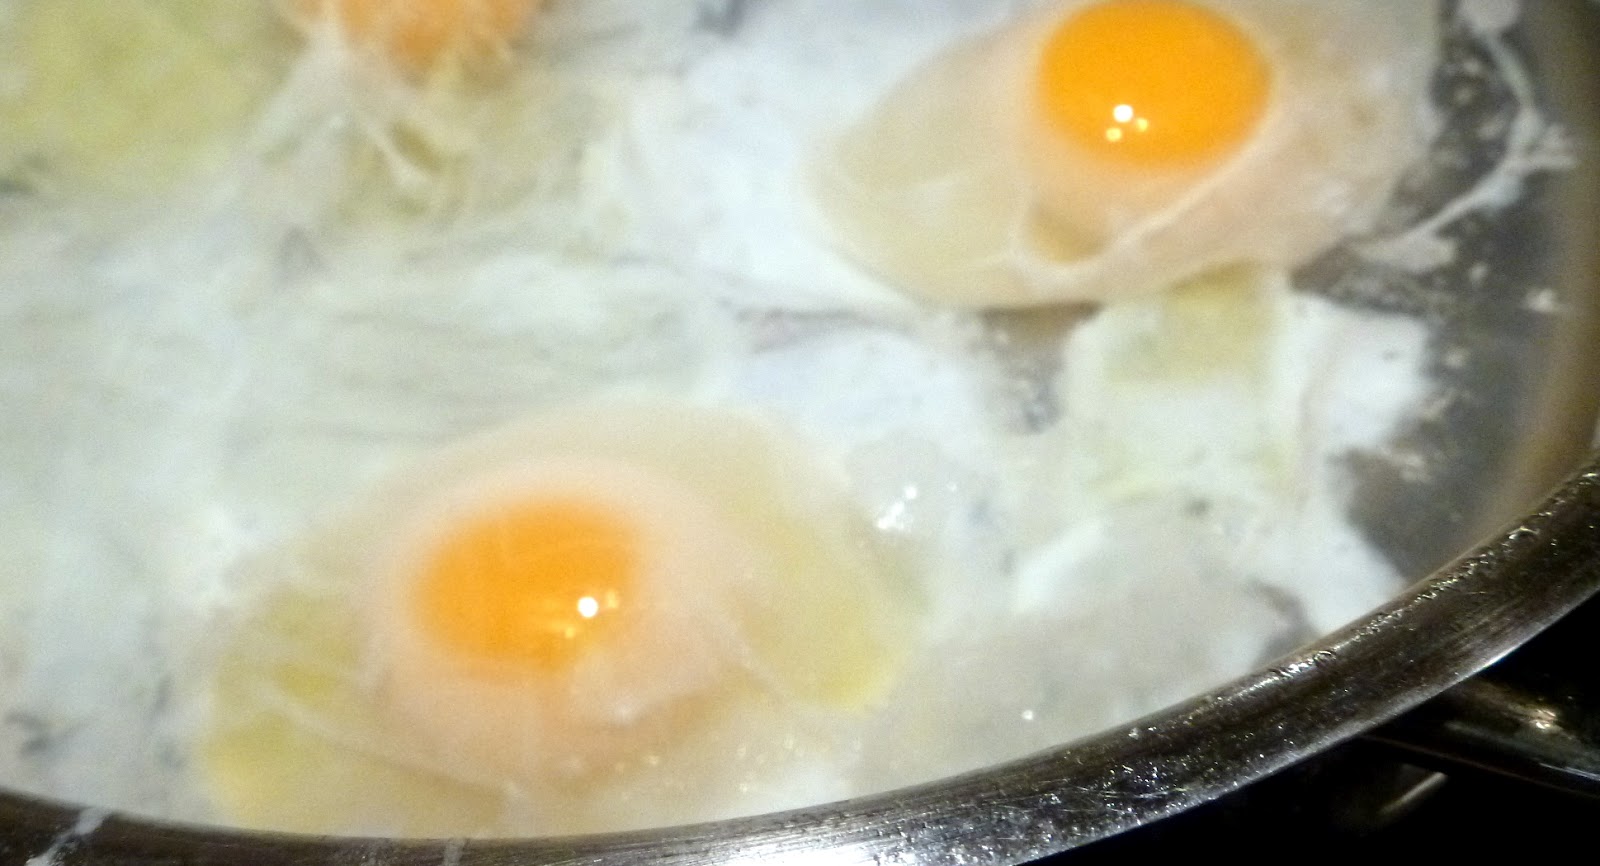
Eggs Benedict ~ Heaven on a Plate

April 16th is Eggs Benedict Day. I had no idea such a day even existed until I did a quick google search awhile back looking for recipes, but since I LOVE Eggs Benedict, I'm totally on board with them having their own day.
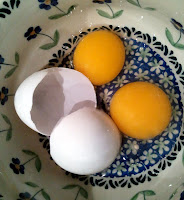
I enjoy cooking a leisurely breakfast on Sunday mornings and there's nothing better than using fresh eggs collected that very morning. They are wonderful scrambled, over easy, fried, and as omelets...but if I had to choose just one way to eat eggs for the rest of my life, I would chose Benedict-style.

The keys to a perfect Eggs Benedict are fresh eggs and fresh lemon juice. This is actually a very easy recipe, it's just getting the technique and timing down that takes a few tries. But that just gives you an excuse to make it often and hone your technique!
Easy Eggs Benedict Recipe (serves two)
Poach 4 eggs in simmering water until soft set and keep warm.
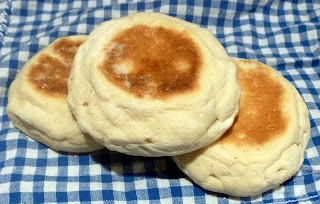
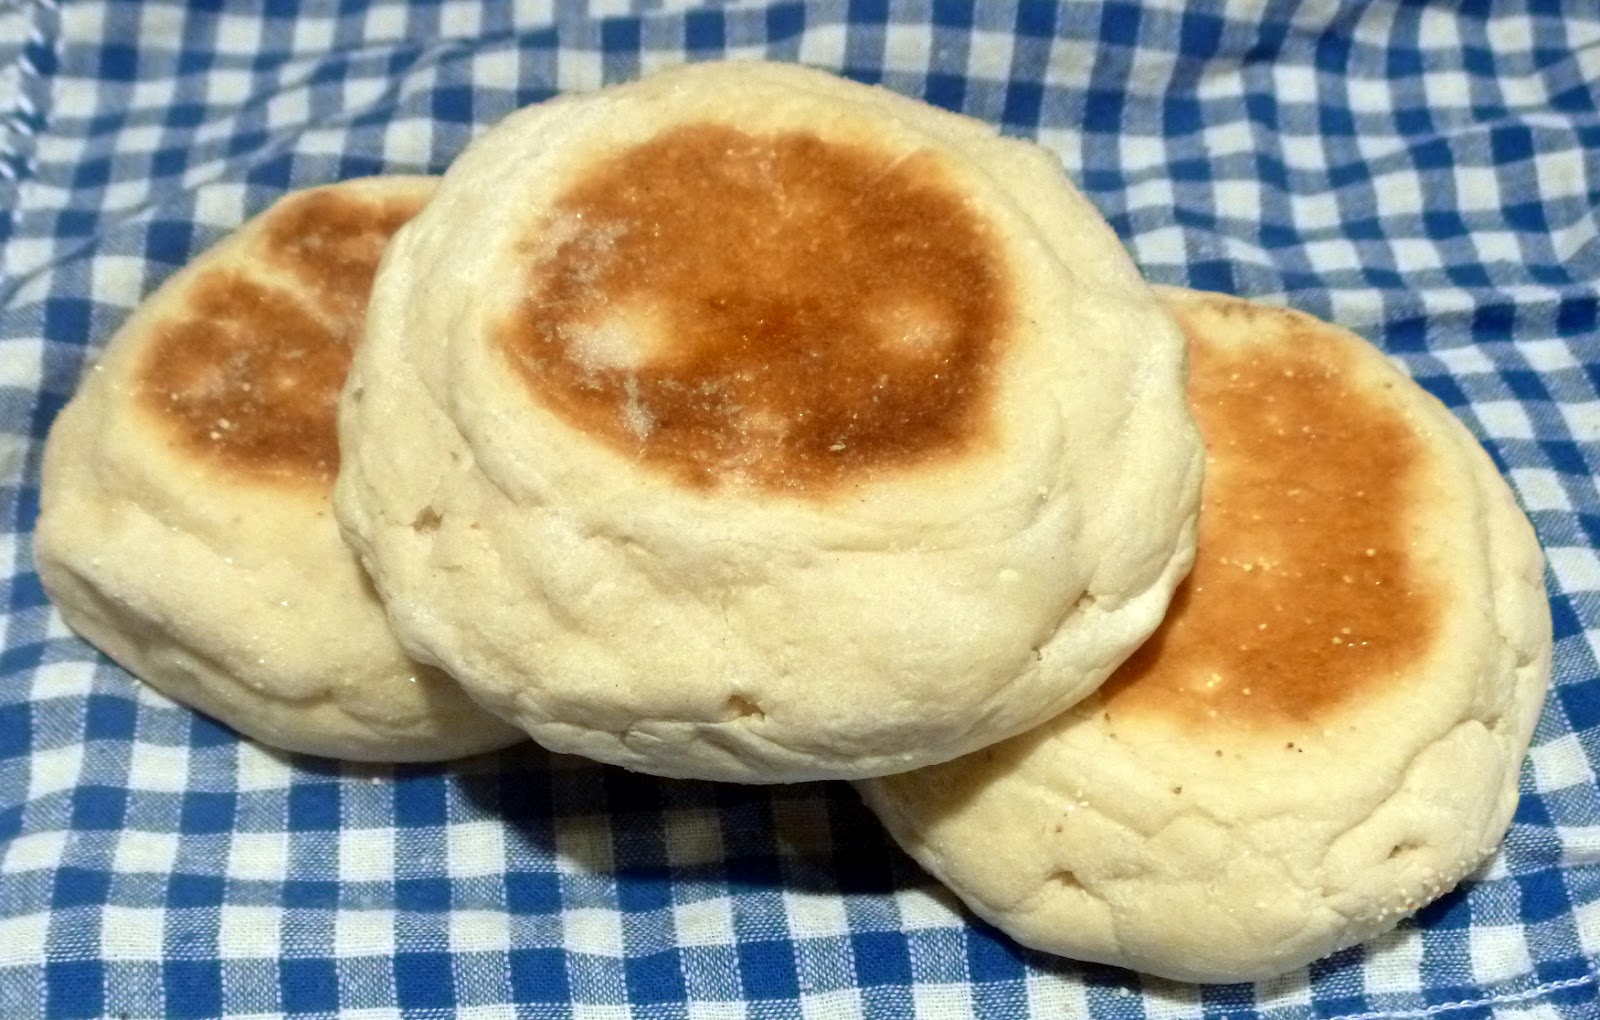
Toast 2 English muffins and keep warm.
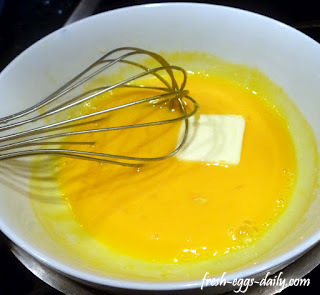
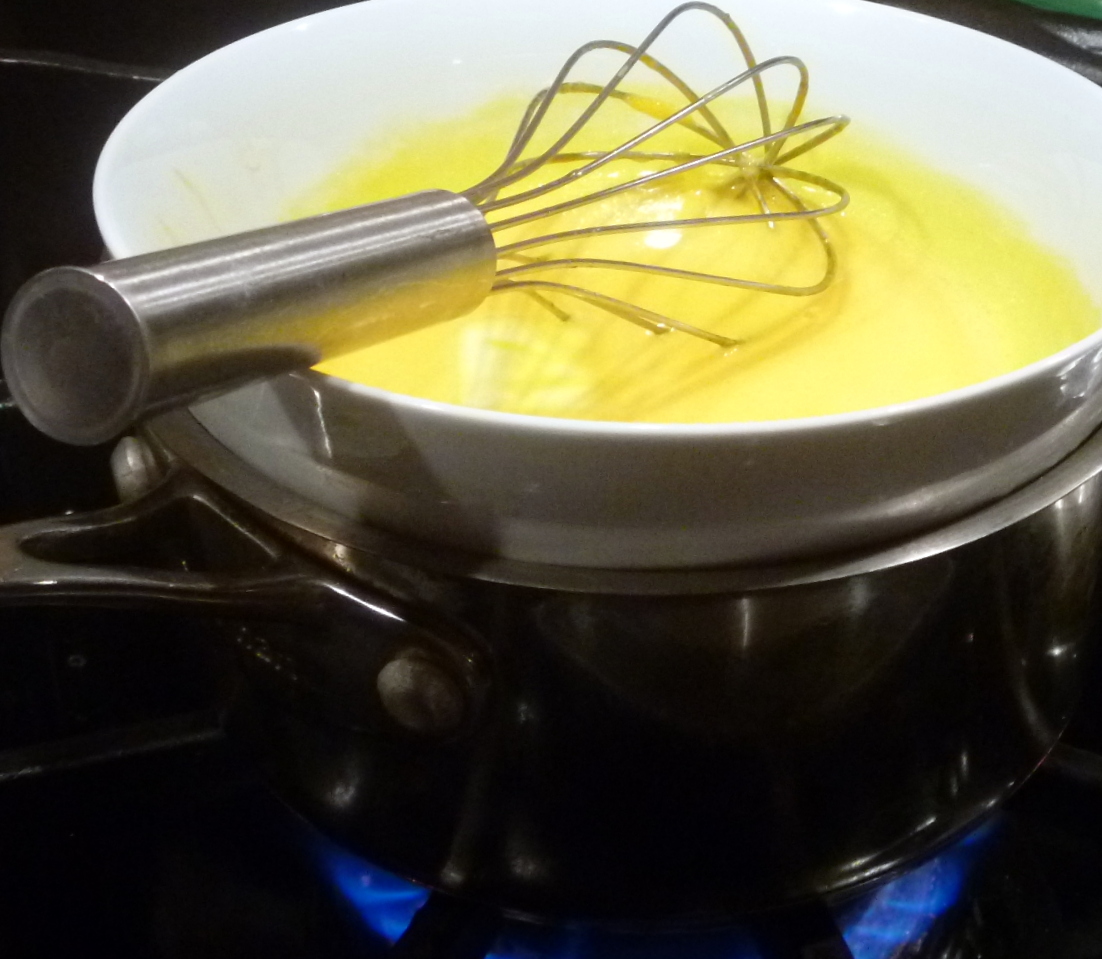
Meanwhile, for the sauce, whisk 3 egg yolks, 1 Tablespoon fresh lemon juice and 1 Tablespoon water in a heatproof glass (not metal) bowl set over a pot of boiling water.


Slowly add a stick of room temperature butter, a small piece at a time, until it's all incorporated, whisking continuously.
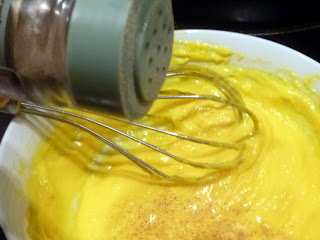
Continue to cook for another minute or two until sauce thickens. Season with salt and white pepper. Immediately remove from heat.
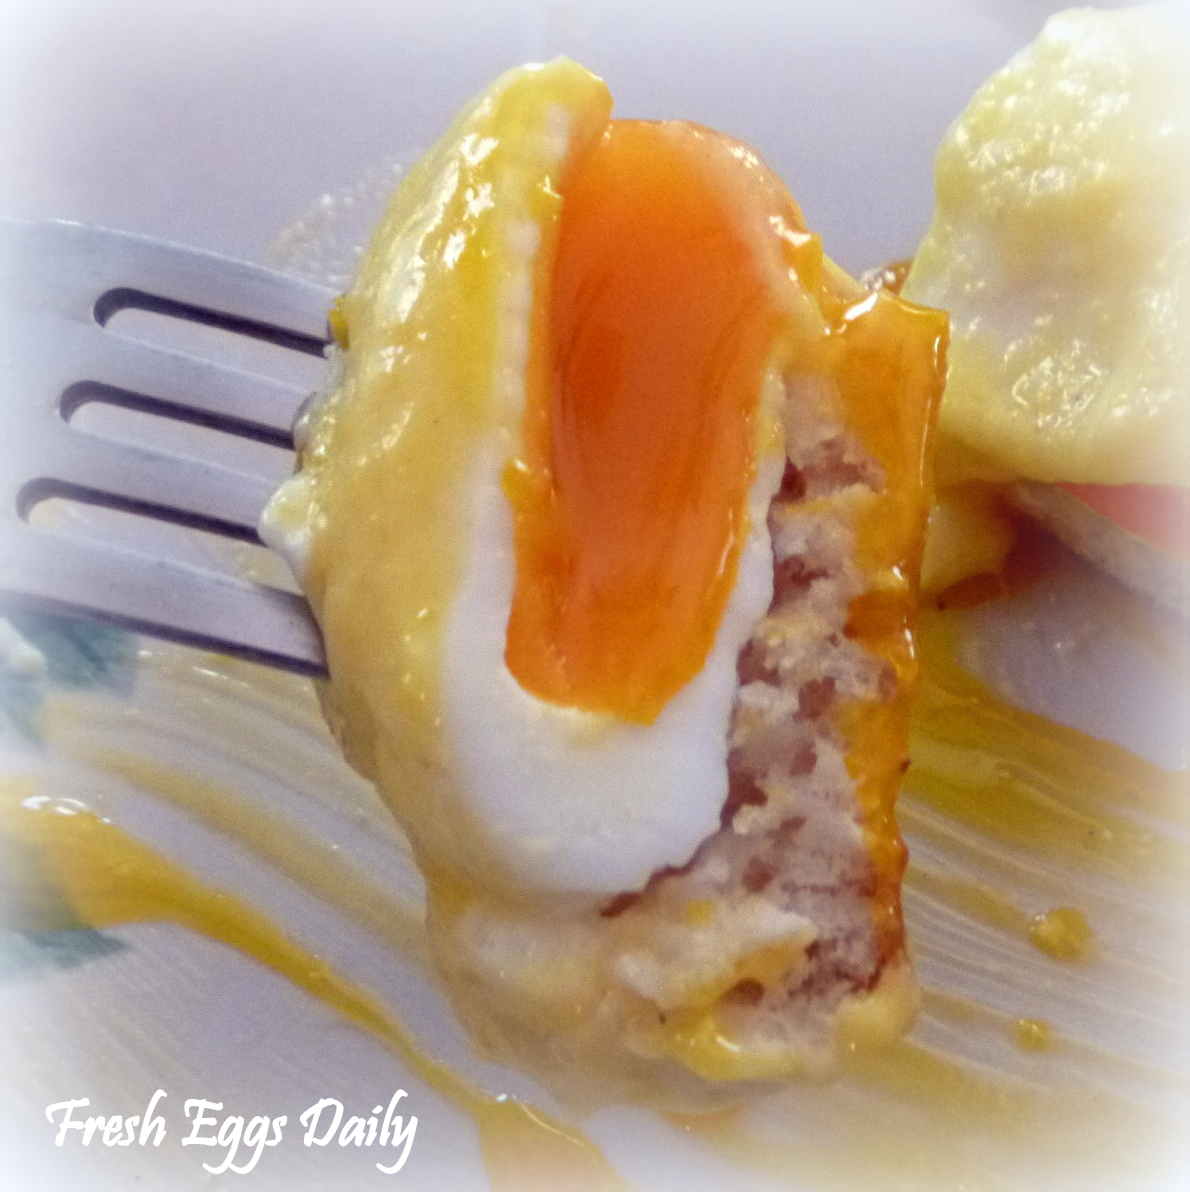
Put an egg on each muffin half, cover with some sauce, and grate fresh nutmeg on top (optional).

You can also add a slice or two of bacon or a round of Canadian bacon or ham, but I prefer to keep it simple...
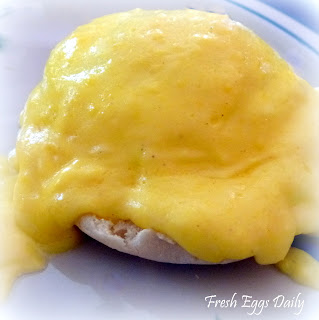

Voila ! Heaven on a plate.
JOIN US ON FACEBOOK
This recipe is shared here: Katie's French Language Cafe
Fresh Eggs Daily: Eggs Benedict ~ Heaven on a PlateLast edited by AirborneSapper7; 10-13-2012 at 06:27 PM.
Join our efforts to Secure America's Borders and End Illegal Immigration by Joining ALIPAC's E-Mail Alerts network (CLICK HERE)
-
10-13-2012, 06:21 PM #2524Senior Member
- Join Date
- May 2007
- Location
- South West Florida (Behind friendly lines but still in Occupied Territory)
- Posts
- 117,696

Welcome to
THE FARM GIRL BLOG FEST
Fresh Eggs DailyJoin our efforts to Secure America's Borders and End Illegal Immigration by Joining ALIPAC's E-Mail Alerts network (CLICK HERE)
-
10-13-2012, 06:32 PM #2525Senior Member
- Join Date
- May 2007
- Location
- South West Florida (Behind friendly lines but still in Occupied Territory)
- Posts
- 117,696
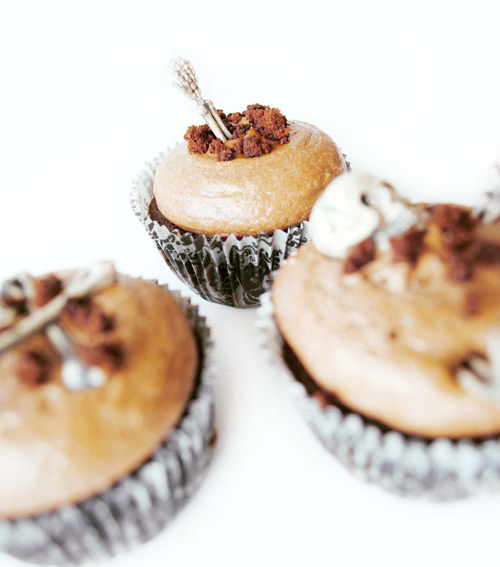
Halloween countdown
I just love every hour after the autumnal (Fall) equinox. The days are cooler, the sunset is prettier. But what I really love the most is Halloween! And not just because of the candies, but during this holiday my creativity ignites like no other day of the year; hence my new “living dead” creations.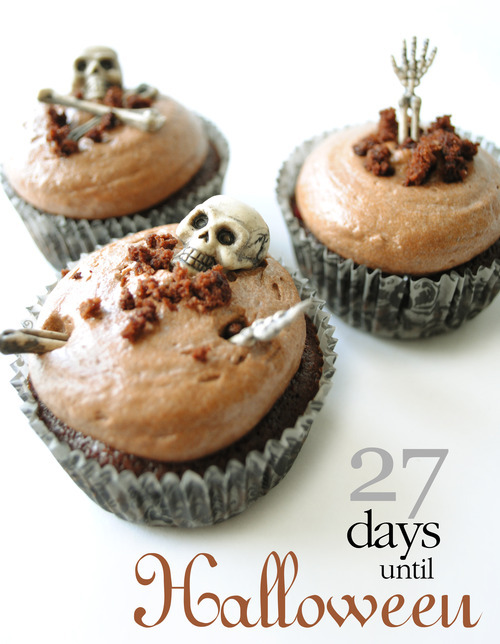
These spooky little cupcakes are made with chocolate but inside awaits a gooey and delicious raspberry filling. The idea is to give them a vampire’s bite and sink your fangs into the sweet blood-like stuff. To top it all, and to add a little shriek, I’ve placed some plastic skeletons (available at Michaels) which I sliced in parts and strategically arrange them over a bed of Nutella frosting. To make them look like they just raised from the ground, I used the parts of the cupcakes I took (to make way for the frosting) and toasted them on a pan. For recipes click each link! Hope you like Halloween (and all its goodies) as much as I do!
 Join our efforts to Secure America's Borders and End Illegal Immigration by Joining ALIPAC's E-Mail Alerts network (CLICK HERE)
-
10-13-2012, 06:36 PM #2526Senior Member
- Join Date
- May 2007
- Location
- South West Florida (Behind friendly lines but still in Occupied Territory)
- Posts
- 117,696

 The Homestead Survival
Baby owl hats crochet,free pattern, patterns available thru adult sizes
http://homesteadsurvival.blogspot.com/2012/10/baby-owl-hats-crochetfree-pattern.htmlJoin our efforts to Secure America's Borders and End Illegal Immigration by Joining ALIPAC's E-Mail Alerts network (CLICK HERE)
-
10-13-2012, 06:40 PM #2527Senior Member
- Join Date
- May 2007
- Location
- South West Florida (Behind friendly lines but still in Occupied Territory)
- Posts
- 117,696
How To Make Shrunkles Scary Shrunken Apple Heads
4 Comments Posted on October 3, 2012
In the mid 1970s, Milton Bradley was selling the Shrunken Head Apple Sculpture Kit. Who could resist, especially since it featured Vincent Prices face on the box.

The kit promised:
Turn apples into Shrunken Heads with the SHRUNKEN HEAD Apple Sculpture kit.
Before you know it, youll have Shrunken Heads hanging from your belt. Or around you neck. Buy you kit now and get a Had-start on your friends! Having a Shrunken Head is like having Halloween year round! Youll find SHRUNKEN HEAD Apple Sculpture kits where ever toys and crafts are sold. Look for Vincent Princes pretty face on the cover.
After searching the internet I found some basic information on how to make these groovy wonders and through some trial and error developed an easy method to make Shrunken Apple Heads which I call Shrunkles.

Materials Needed:
Apples (see below)
Salt
Lemon Juice
Water
Large Bucket
Carving and Peeling Tools (see below)
Screens
Box Fan
Kitchen Oven
Brown or Black Acrylic Paint
Clear Polyurethane Sealant
Cotton Swabs
Twine or Wire
Material for Eyes (see below)
Hot Glue Gun
Glue Sticks
Lots of Time

Making shrunken apple heads is a lot of fun and a great activity with the kids. The entire process takes about 4 weeks to complete, so if you want some for Halloween you had best start ASAP.
Lets get started!
Fill a bucket that is large enough to hold all the apples you plan on making with cold water.
Add approximately ¼ cup lemon juice and ¼ cup salt per gallon of water used.
The salt and lemon juice will prevent the carved apples from oxidizing, or turning brown when exposed to the air.
Peel your apples. Any variety of apple will work, but I have found that Red Delicious or Yellow Delicious apples produce the best results.
When peeling leave a fair amount of skin on the top of the apple around the stem and at the base of the apple. (see photo below)
Place peeled apples in the water/lemon/salt mixture.
Now its creative time, time to carve the faces! Dont fear, this is the fun part, trust me. You will need an assortment of carving tools: different size knives, x-acto knives, toothpicks, peelers, chopsticks, cookie cutters, caps to ink pens and markers and cheap clay carving tools available at a dollar store.
 Start with the eyes. Take the cap from a pen or marker and punch it into the apple where you want the eyes. When you remove the pen cap from the apple you will have a perfect circle cut into the apple, simply use a toothpick or small knife to remove the apple from the middle of the cut.
Next use a knife or other tool to create the basic shape of the face. Study the photos below and you can see how I used a simple tools to create the basic face shape. Dont worry about details or smoothness, remember, the apples are going to shrink and shrivel so all you need to do is to create rough shapes determining the eyes, nose and mouth. The pictures illustrate the technique much better than an explanation.
After the faces have been carved in the apples, let them soak in the water/lemon/salt mixture for several hours.
Once the carved apples have soaked, place on a screen or some other surface that will allow complete air circulation. Use a box fan to continuously circulate the air, this speeds up the drying process considerably. (If you add a portable heater to the area for a couple of hours at a time it will dry in about a week but no more than a couple of hours at a time, keeping a good distance or they will dry to fast and cook)
Check the apples every few days and if necessary you can use your fingers to maintain the shape of the eyes, nose or mouth if it is drying or shriveling in a strange fashion.

After a couple of weeks (or longer depending on humidity) your apples should have shrunk to their final size. To insure that all the moisture is removed, put the apples on a cookie sheet and place in a warm (under 200 degrees F) oven for about four hours.
Our Shrunken Apple Heads are used as ornaments on a Halloween tree, so using an awl, a hole is punched through the core of the apple, then wire or twine is threaded through the hole to create a loop for hanging.
Once the apples have completely dried, either spray or dip them in a polyurethane seal sealant and let dry. The apples should now last for years without any worry about mold or rotting, just make sure they are completely dry before you seal them.
One final thing I like to do with the apple heads is to give them eyes. Eyes tend to give them a lot of personality. Before inserting the eyes, the sockets are painted using a dark brown acrylic paint and cotton swab. Let dry. Wooden beads, black eyed peas, lima beans or wiggly eyes from a craft store can then be glued into the eye socket.


Orig. Post 2008 by Scotty Art: Shrunkles

How To Make Shrunkles… Scary Shrunken Apple Heads | Inspire WildJoin our efforts to Secure America's Borders and End Illegal Immigration by Joining ALIPAC's E-Mail Alerts network (CLICK HERE)
-
10-13-2012, 06:44 PM #2528Senior Member
- Join Date
- May 2007
- Location
- South West Florida (Behind friendly lines but still in Occupied Territory)
- Posts
- 117,696

The Homestead Survival
FREE Emergency Planning Printables
http://homesteadsurvival.blogspot.com/2012/10/free-emergency-planning-printables.htmlJoin our efforts to Secure America's Borders and End Illegal Immigration by Joining ALIPAC's E-Mail Alerts network (CLICK HERE)
-
10-13-2012, 06:50 PM #2529Senior Member
- Join Date
- May 2007
- Location
- South West Florida (Behind friendly lines but still in Occupied Territory)
- Posts
- 117,696
Braiding Onions and Garlic
Show off your prize homegrown onions and garlic by making a braid.

You'll need 13 onions for this project. This technique will work with cloves of garlic, too.
Trim the roots of the onions to about an inch long and gently brush off any soil clinging to the bulbs.
Choose the three largest onions for the bottom of the braid.
Position one onion at the top and the two other large onions slightly below and to each side of the first bulb.

Braiding Onions: Step 2
Take the leaves from bulb A and fold them back over the necks of bulbs B and C and then wrap them underneath.
Pull the leaves tight and then place them back in their original position.
This makes a "knot" at the base of the braid.

Braiding Onions: Step 3
Take an onion and place it on top and in the middle of onions A, B, and C.
Line this new onion's leaves up with the leaves of onion B.
You should now have three strands of leaves.
Braid the three strands of tops together twice (just as you would hair), making sure that the braid is tight.

Braiding Onions: Step 4
Add two more bulbs, one to each side of the braid.
Line their leaves up with the two existing outside braid sections; then braid the tops together twice.

Braiding Onions: Step 5
Following the directions in steps 3 and 4, continue to add one onion, then two onions to the braid until you have used all the onions.
The top of the braid should finish with a single onion.
Braid the remaining tops together.
Secure the braid by wrapping sisal twine around the end and tying it off.
How to Braid Onions and Garlic: Organic GardeningLast edited by AirborneSapper7; 10-13-2012 at 06:53 PM.
Join our efforts to Secure America's Borders and End Illegal Immigration by Joining ALIPAC's E-Mail Alerts network (CLICK HERE)
-
10-13-2012, 06:52 PM #2530Senior Member
- Join Date
- May 2007
- Location
- South West Florida (Behind friendly lines but still in Occupied Territory)
- Posts
- 117,696
Join our efforts to Secure America's Borders and End Illegal Immigration by Joining ALIPAC's E-Mail Alerts network (CLICK HERE)


 Reply With Quote


Mike Johnson betrays border security for more foreign aid
04-18-2024, 10:31 PM in illegal immigration News Stories & Reports