

Results 621 to 630 of 11801
 226Likes
LinkBacks (?)
-
12-26-2016, 11:32 AM
-
09-02-2016, 05:39 PM
-
whole garden made with pallets!! Love it!! | Pallets | Pinterest | Pallets, Pallets Garden and Wooden Pallets
Refback This thread03-06-2016, 11:30 AM -
10-20-2015, 05:29 PM
-
06-12-2015, 08:00 PM
-
02-26-2015, 01:58 PM
-
01-05-2015, 04:13 PM
-
12-19-2014, 10:19 AM
-
EMERGENCY: HUGE FEMA PANDEMIC EXERCISE IN USA IN NOVEMBER, INTERNET SHUT DOWN PART OF EXERCISE | Prepare4Survival
Refback This thread12-03-2014, 10:39 PM -
Off Grid World ? Ugly Duckling Shipping Container Home Built by Artist Is a Beautiful Swan on the Inside
Refback This thread11-25-2014, 03:10 PM -
11-17-2014, 10:59 PM
-
11-13-2014, 11:18 AM
-
11-09-2014, 02:54 PM
-
10-28-2014, 11:38 PM
-
10-26-2014, 05:54 AM
-
10-16-2014, 11:28 AM
-
10-03-2014, 01:25 PM
-
10-02-2014, 09:16 PM
-
09-26-2014, 07:00 PM
-
09-26-2014, 01:56 PM
-
09-19-2014, 04:46 PM
-
09-13-2014, 05:49 AM
-
09-05-2014, 01:52 PM
-
09-01-2014, 09:39 AM
-
08-30-2014, 06:29 PM
-
08-10-2014, 06:29 AM
-
08-04-2014, 05:07 PM
-
07-23-2014, 11:14 AM
-
New Evidence on Expiration Dates | Medical Preparedness | Doom and Bloom (TM) | Doom and Bloom (TM)
Refback This thread07-22-2014, 10:10 AM -
07-18-2014, 08:37 PM
-
07-15-2014, 04:57 PM
-
07-11-2014, 01:40 AM
-
04-22-2014, 11:14 AM
-
04-18-2014, 12:57 PM
-
04-18-2014, 10:10 AM
-
04-14-2014, 12:18 AM
-
04-12-2014, 02:28 AM
-
03-02-2014, 11:43 PM
-
12-24-2013, 11:59 PM
-
12-07-2013, 11:04 PM
-
kitchen | Cob
Refback This thread11-25-2013, 03:24 PM -
10-22-2013, 10:25 PM
-
Apple Pie Braid | Sweets
Refback This thread09-26-2013, 07:58 AM -
09-02-2013, 04:44 PM
-
5 Reasons Why You May have to Bug Out Even Though You Don’t Want to | The Apartment Prepper's Blog
Refback This thread08-23-2013, 03:20 PM -
06-27-2013, 06:30 AM
-
06-23-2013, 08:11 PM
-
06-17-2013, 11:21 PM
-
05-24-2013, 05:06 PM
-
To Eat / BASIC LIST / SUGGESTED ITEMS FOR LONG TERM SURVIVAL - Page 275 - ALIPAC
Refback This thread05-01-2013, 03:49 AM
Thread Information
Users Browsing this Thread
There are currently 1 users browsing this thread. (0 members and 1 guests)
 LinkBack URL
 About LinkBacks
-
04-07-2011, 02:29 AM #621Senior Member


- Join Date
- May 2007
- Location
- South West Florida (Behind friendly lines but still in Occupied Territory)
- Posts
- 117,087
now thats pretty cool... thanks for posting and sharing with us all Originally Posted by working4change
Join our efforts to Secure America's Borders and End Illegal Immigration by Joining ALIPAC's E-Mail Alerts network (CLICK HERE)
Originally Posted by working4change
Join our efforts to Secure America's Borders and End Illegal Immigration by Joining ALIPAC's E-Mail Alerts network (CLICK HERE)
-
04-07-2011, 07:37 AM #622Senior Member
- Join Date
- May 2007
- Location
- South West Florida (Behind friendly lines but still in Occupied Territory)
- Posts
- 117,087

Fox News Demonstration: Long Term Food Storage Basics: How to Pack Rice, Wheat, Beans and Dry Goods
Video: Long Term Food Storage Basics - How to Pack Rice, Wheat, Beans and Dry Goods
http://www.youtube.com/watch?v=6ZAMjmgo ... r_embedded
Fox News Report on Inflation, Higher Prices and Emergency Preparedness.
Tess demonstrates some best practices and a multi-barrier process for packaging food for short and long term storage in mylar bags (or large food grade buckets) with oxygen absorbers, a vacuum seal, and a heat seal. With proper storage techniques the shelf life of your food preps can exceed 20 years for most dry goods like rice, wheat, sugar, beans, oats, wheat and pasta.
Published by Tess Pennington on April 4th, 2011Last edited by AirborneSapper7; 01-12-2012 at 03:41 AM.
Join our efforts to Secure America's Borders and End Illegal Immigration by Joining ALIPAC's E-Mail Alerts network (CLICK HERE)
-
04-07-2011, 08:39 AM #623working4changeGuestYou're welcome. Just a small contribution to all your valuable info on this thread. Originally Posted by AirborneSapper7

-
04-08-2011, 09:16 AM #624Senior Member
- Join Date
- May 2007
- Location
- South West Florida (Behind friendly lines but still in Occupied Territory)
- Posts
- 117,087
Effective Weight Loss Plan Includes Three Square Meals, Plenty Of Protein

April 6, 2011
by Personal Liberty News Desk
While some modern weight loss experts recommend eating small, more frequent meals as a strategy to drop pounds, a recent study has shown that reducing body mass may be as simple as following your mother's advice.
Purdue University scientists found that eating three well-balanced, high-protein meals per day helped a group of overweight or obese males feel satiated while losing weight.
Moreover, the researchers found that the three-meal plan was easier to follow than a diet consisting of six daily meals due to busy work schedules. For both plans, the participants consumed about 2,400 calories per day, a 750-calorie decrease on average.
"The larger meals led to reductions in appetite and people felt full. We want to emphasize, though, that these three larger meals were restricted in calories and reflected appropriate portion sizes to be effective in weight loss," said lead author Heather J. Leidy.
The team also tested the effects of protein on a diet by advising half of the participants to eat normal levels of protein — about 14 percent of total calories — and the remaining individuals to consume high-protein diets, which amounted to 25 percent of daily energy intake. Authors noted that participants in the latter group reported
http://www.personalliberty.com/news/eff ... 800477579/Last edited by AirborneSapper7; 01-12-2012 at 03:41 AM.
Join our efforts to Secure America's Borders and End Illegal Immigration by Joining ALIPAC's E-Mail Alerts network (CLICK HERE)
-
04-09-2011, 12:17 AM #625Senior Member
- Join Date
- May 2007
- Location
- South West Florida (Behind friendly lines but still in Occupied Territory)
- Posts
- 117,087

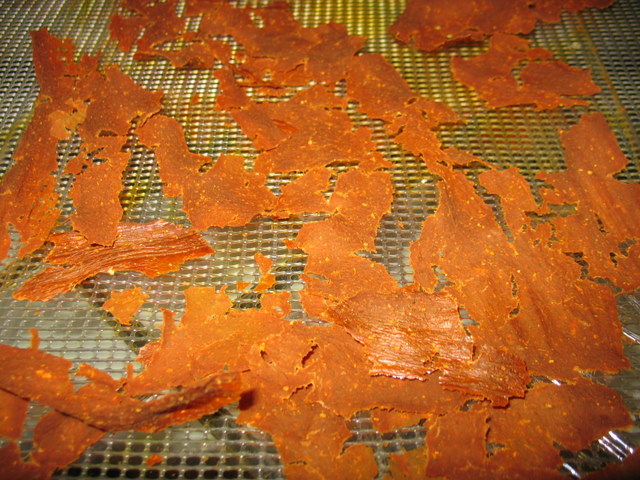
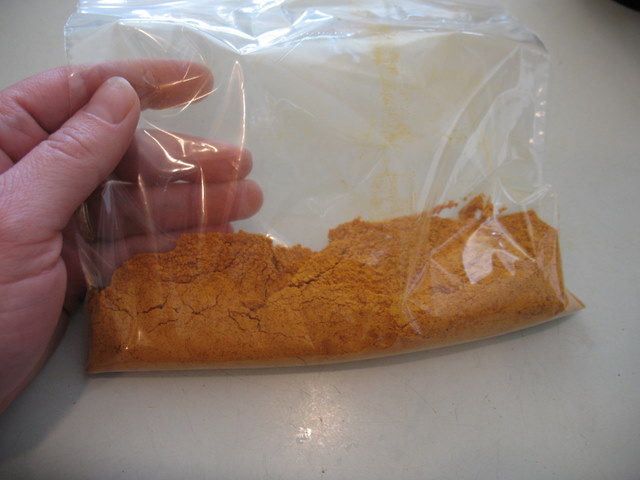
Dehydrated Baby Food: Sweet Potato, Pumpkin, Squash
By Angela, on January 7th, 2011
Last week I had some leftover pumpkin from making a pumpkin roll and just happened to have sweet potatoes left over from Christmas dinner at the same time, so I pulled some frozen “squash” out of the freezer (why I labeled it with only “squash” and not the variety, I do not know) and let it thaw for a big ol’ batch of dehydrated baby food. I used the same general method as when I did the carrots–cook the food, puree it, spread it on the dehydrator like fruit leather and dry until crispy, then put the crispy stuff in the blender until it was powdered.
Sweet Potatoes
The sweet potatoes were already cooked from the dinner–they had been baked in foil like a baked potato and then the peels were taken off after the baking so didn’t have any butter/spices/etc already in them. Just plain ol’ baked sweet potato. I had to add water to them in the blender to make it thin enough to pour. You might think by adding water you’re increasing your dehydrating time, and that may be true, however, you want to be able to spread your pureed food fairly thin and even on the dehydrator trays so it will dry into crispy chips more quickly and not take forever and turn out thick and hard like a rock which just makes more work for your blender when you’re trying to powder it. So go ahead and add some water to get your food to a spreadable consistency if you need to.
These dried up really nicely. I’ll be wanting to do some more sweet potatoes in the next few months as I only got a little bit out of our leftovers.
Sweet potato powder. This could also be used in baking mixes if you want biscuits or bread or something with some sweet potato in it.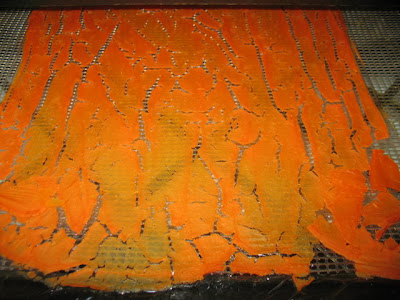
I’ll probably just feed the baby with it.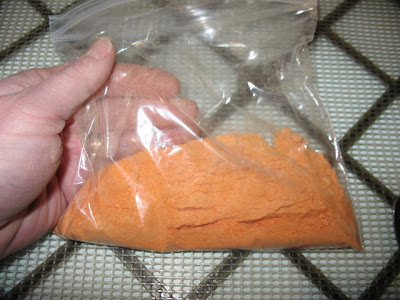
sweet potato powder
Pumpkin
The pumpkin was canned pumpkin left over from making a pumpkin roll. There was a little less than a cup of it to start with, so I pureed it with a bit of water and spread it out on the dehydrator trays. Because I was only putting one swath of plastic wrap down the middle of the tray, it took almost two trays to spread it all out. I’ll have to check the label on the canned pumpkin to see if it’s baby safe before I feed it to the baby. This may go into a bread mix instead. If you were to cook and dry your own pie pumpkin, you’d know for sure that it was only pumpkin.
It dried fairly well–took a while to get crispy. It seems like the food gets leathery pretty quick, and then takes a long time to crisp up. All powdered up it came out to just under 1/3 cup. So I’d guesstimate approx 1/3 cup pumpkin powder for each cup of pumpkin in your recipe. You’ll need to add a bit of extra liquid in your recipe for it. Or just rehydrate it and use it that way.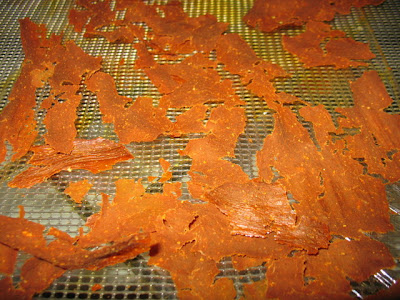
Squash
pumpkin powder
Some of the squash I added water to and some I didn’t because of the consistency of it when it thawed from the freezer. Some of it dried really nicely and some came out really hard. I think that had to do with the fact that my plastic wrap didn’t stay in place on a couple of the trays, so instead of breaking apart as it dried, it all squished up into one chunk of squash in the center of the tray–kind of like those shrinky-dinks that you draw on and put in the oven and they come out as a smaller, thicker version of the original. That made it take those couple of trays another “overnight” in the dehydrator to get crispy after everything else was already done. Guess I’ll be taping my plastic wrap down in the future. After blending it into powder, I’ve got a nice little bag of nearly instant dehydrated squash baby food. Sweet. I’m pretty excited about it. I’ve still got squash from this year that needs done (that’s the good thing about winter squash, they’ll keep a few months before needing cooked and eaten) so we’ll get some more from that.
This method obviously works for starchy veggies. I still need to try some kind of green veggie like beans or something and fruit also. It’s just that they’re not in season right now, so another time we’ll get to those.
squash powder
Super sweet addition to the baby 72 hour kit–just make sure you’ve got enough water or a filter for water or pump for breast milk to re-constitute them.
http://foodstorageandsurvival.com/de...umpkin-squash/
Last edited by AirborneSapper7; 01-12-2012 at 03:44 AM.
Join our efforts to Secure America's Borders and End Illegal Immigration by Joining ALIPAC's E-Mail Alerts network (CLICK HERE)
-
04-09-2011, 12:45 AM #626Senior Member
- Join Date
- May 2007
- Location
- South West Florida (Behind friendly lines but still in Occupied Territory)
- Posts
- 117,087
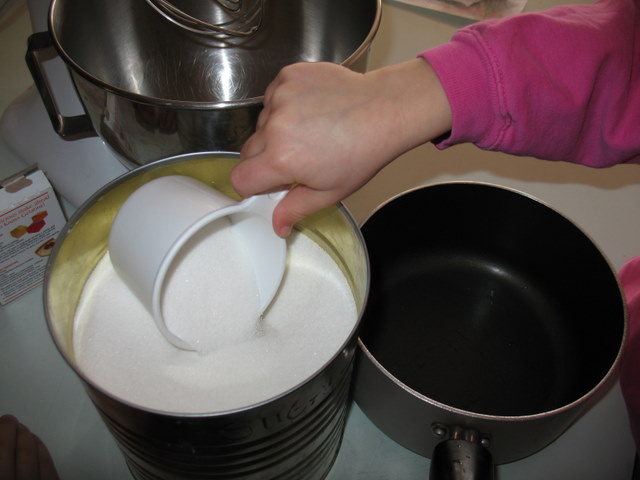
Make Your Own Homemade Marshmallows
By Angela, on January 5th, 2011
Homemade marshmallows are so super easy and taste so much better than store marshmallows, you’ll want to be making them all the time. Well, at least your husband might want you to be making them all the time. They use very few ingredients, most of which are shelf stable. Okay, I’m ready to get started, how about you?
First, gather your ingredients. You’ll need:
Granulated sugar
Eggs
Gelatin (plain, not Jell-O flavored stuff. Usually found near the Jell-O in the store under brand name Knox)
Water
I know that last one is hard to get a hold of sometimes.
To get started, put 2 cups of sugar in a pot with 3/4 cups cold water and stir it up. Get some little helpers if you can.
Put it on the stove and heat over medium to medium high heat to “soft ball stage” (approx 234 to 240 degrees according to my cookbook). It will take a bit to get to that stage. I don’t use a thermometer, I just check the syrup by dropping a little bit into cold water and pulling it out to check if it forms a soft ball. Kind of like this video, but I usually catch it at the earlier part of soft ball when the ball flattens as soon as it is formed. Have a helper stir it if you want. If not, it will still cook to soft ball stage without any trouble without stirring.
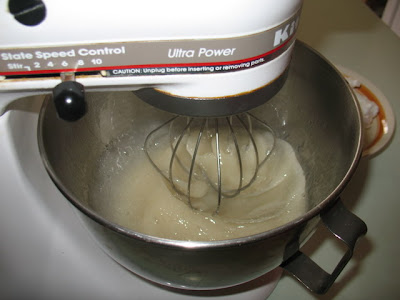
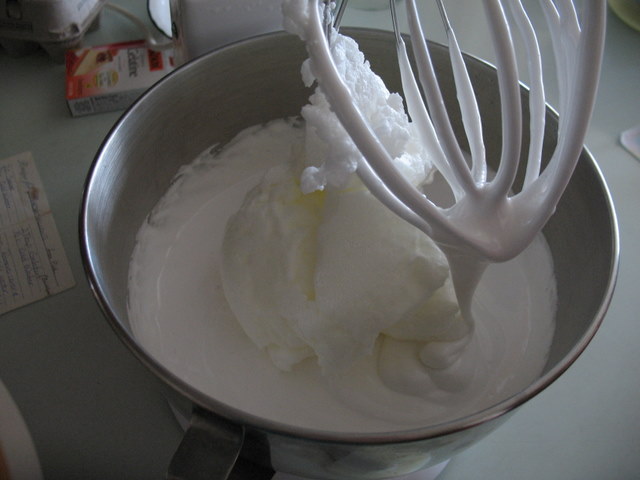
Meanwhile, get 2 eggs and separate the whites from the yolks. Your mom showed you how to do this, right? If not, here’s a youtube video with some groovy music to show you how to separate egg whites. We just want two egg whites. Put them in your mixer and beat them until they are “stiffly beaten”. They don’t look like much to start with, but they expand quite a bit with the beating.
You’ll know they’re stiffly beaten when they form stiff peaks or hold their shape when you pull the beater out.
Take those egg whites out of your mixer and set them aside for later, then rinse off your mixer bowl and beater–you’ll be using them again.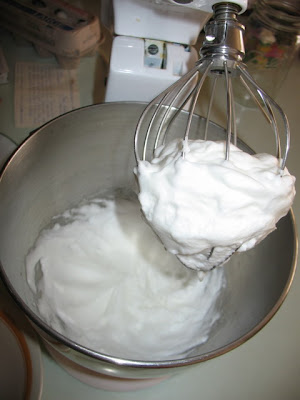
Check on your sugar syrup mixture. Got that soft ball yet? You can check it anytime while the egg whites are beating also if you want. You should still have time to mix up the third part of the marshmallow magic. It’s easy. Put 2 TB gelatin (the one time I measured, this came out to be 3 packets) in a little bowl with 1/2 cup cold water. In the picture above, my helpers are putting the gelatin in the bowl and I haven’t rinsed the egg whites off the beater yet.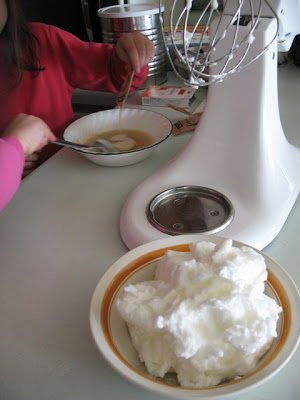
Let it sit and gel up while you take care of the syrup. It doesn’t need a lot of time, you’ll see it sets up pretty quickly, but there is also no problem if you do the gelatin step earlier if you want and let it sit longer–won’t hurt anything.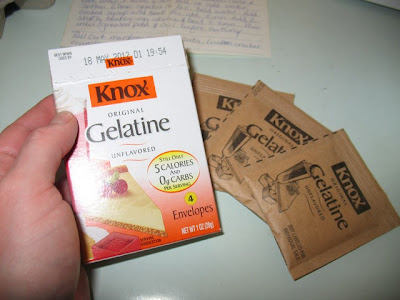
Once your syrup is at soft ball stage, pour it in your mixer bowl.
Then add the softened gelatin and mix on med-high to high speed for about 5 minutes.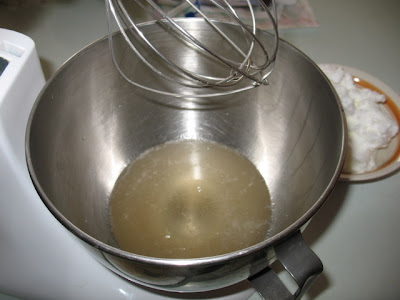
After 5 minutes, it looks a bit like marshmallow creme.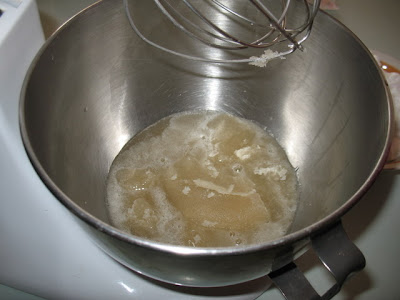

Now add your stiffly beaten egg whites and beat the whole mixture another 5-7 minutes.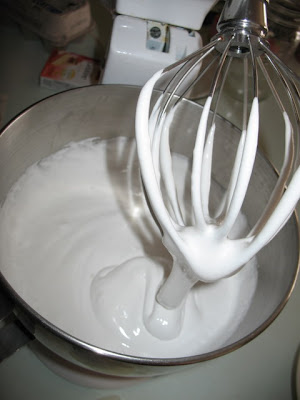
At the end of that beating, it’s not as runny as it was before the egg whites.
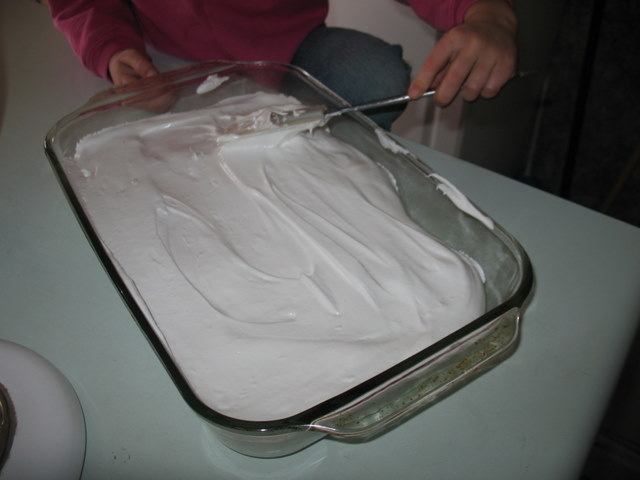
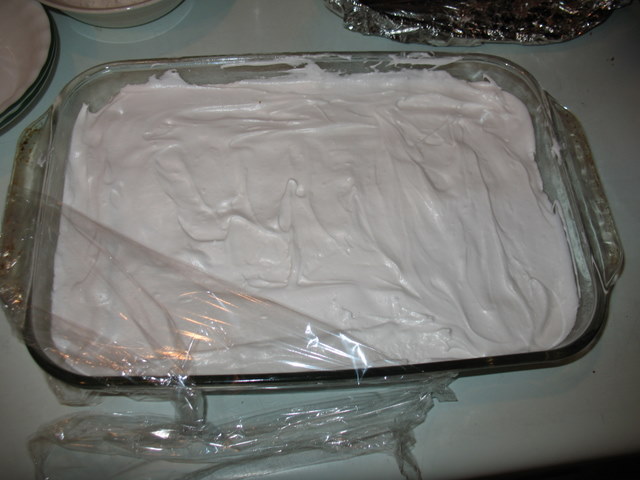
Now you’ll need a pan. I put this batch in a 9×13 greased glass pan. You can use whatever pan works for you, but if it’s not smooth or greased well, the marshmallows are going to stick. However, you don’t want it over-greased because that’s just gross on your marshmallows. I use cooking spray, but you could probably butter it as well.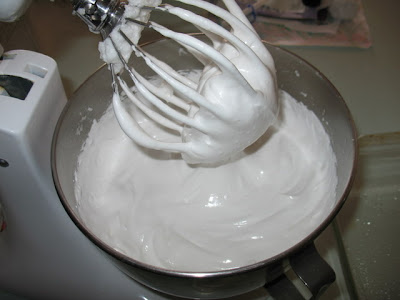
Pour/scoop the marshmallow mixture into the pan and spread it around evenly.
Well, as evenly as you can. It’s pretty sticky stuff.
Then put plastic wrap or a pan cover on it, set it aside and let it cool.
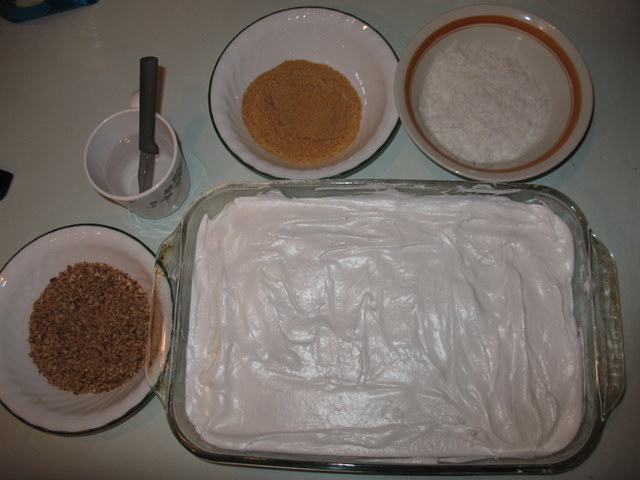
While they’re cooling, you can get some marshmallow coatings ready. We like to roll ours in crushed graham cracker crumbs, coconut flakes, or nut crumbs. Run the nuts through the food processor for a bit to get smaller pieces–we usually use pecans, but walnuts or almonds or whatever nut you love would probably be fine also. You may find something else you love to coat your marshmallows with. Like dip them in chocolate. They’re just really sticky if they’re left plain.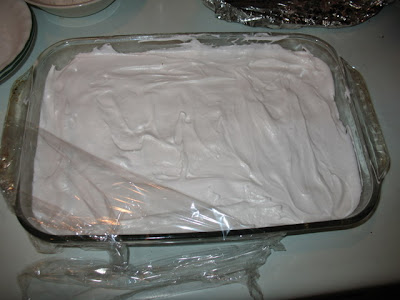
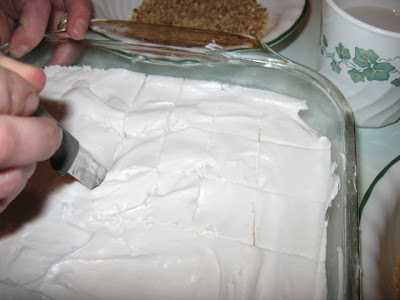
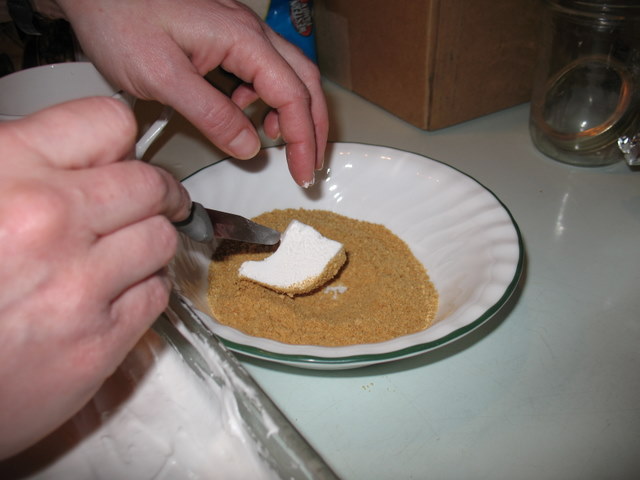
When it’s all done cooling, it’s time for the good part. Eating it! Oh wait, you’ll have to cut them first. You don’t want to eat the whole pan at once. To cut the marshmallows I get a cup of hot water and a NON-serrated knife. A little paring knife works great. The serrated knives just tend to stick more. Dip your knife in your hot water and cut a little section. Dip again, cut a bit more. We usually go about an inch square or a bit smaller.
Repeat until you’ve cut as many as you’ll eat in the next day or so. You can cut them all if you want, just make sure you’ve got a nice airtight container to keep them in. We kind of like ours freshly coated in the fun coatings, so we’ll just cut what we’re going to eat and then cut the rest as we want them.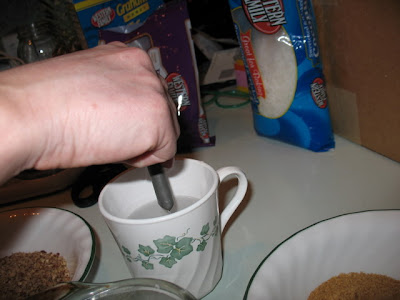
The graham crackers are my favorite.
The kids like either graham crackers or the coconut. The coconut doesn’t stick too well, so just do your best.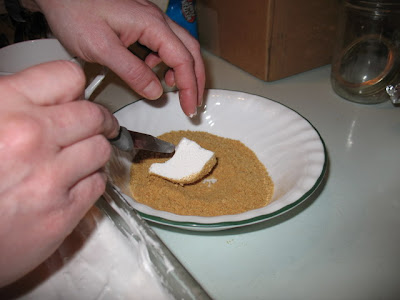
Dad likes the nuts the best. He has some kind of radar for when the marshmallows are being cut.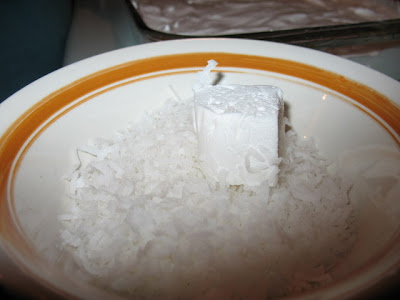
Arrange them on a plate and take a picture if you’re fast enough. I had to tell everyone I wanted a picture so they’d quit eating them as soon as they were rolled!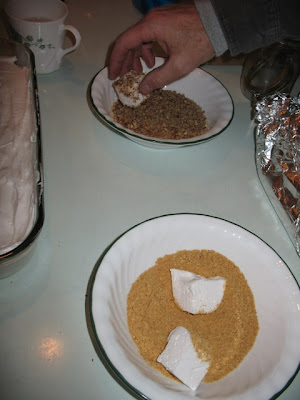
Really, that’s not that hard, right? I’ve never tried roasting them over a campfire or putting them in hot cocoa. They’d probably do fine, but we just eat them straight. Enjoy!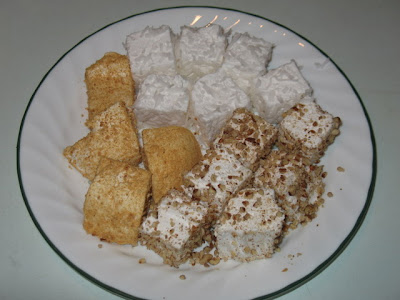
http://foodstorageandsurvival.com/ma...-marshmallows/Last edited by AirborneSapper7; 01-12-2012 at 03:46 AM.
Join our efforts to Secure America's Borders and End Illegal Immigration by Joining ALIPAC's E-Mail Alerts network (CLICK HERE)
-
04-09-2011, 12:52 AM #627Senior Member
- Join Date
- May 2007
- Location
- South West Florida (Behind friendly lines but still in Occupied Territory)
- Posts
- 117,087
The Kids Emergency Boredom Buster Can
By Angela, on March 23rd, 2011
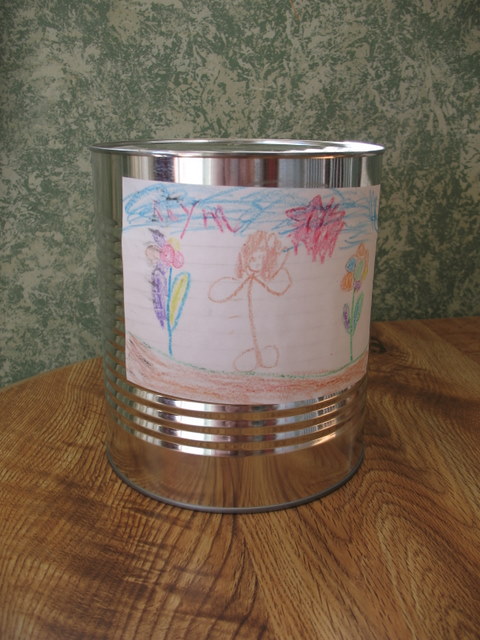
Here’s a fun idea for the non-foods section of your food storage. Suppose your emergency lasts longer than you expected. You’re stuck in your house without electricity or quarantined for whatever reason. What are you going to do for entertainment? Storing entertainment is not high on the preparedness list, but can be a lifesaver especially if there are children around. A few years ago we put together emergency boredom buster cans for the kids. We had the cans sealed at an emergency preparedness fair, but you could rent the can sealer from an LDS dry pack cannery and seal your can at home. Or put your boredom buster supplies in a clean paint can, mylar pouch, small bucket, or just a box.
The concept is pretty simple–it’s “surprise” supplies in a can to keep the kids (or yourself) busy/preoccupied. I honestly don’t remember everything I put in the cans. You want something that will take up some time and be a good distraction from the emergency situation. Maybe a model or equipment for some skill they could learn.
Here are some things I do remember putting in the cans:
Puzzles (in a baggie with the picture from the box)
Yarn, crochet hook, simple crochet directions
Non-hardening clay
Small printed word puzzles, mazes, coloring pages
Colored pencils and hand sharpener
Small frisbee
Some hard candies
Card games
I’m sure I put more in–I guess we’ll all be surprised if/when we ever open them! When deciding what to put in your cans, consider your children and their likes/dislikes/abilities. Also think a couple of years ahead. I put crochet stuff in the can for my littlest one and she was probably only 3 at the time. Remember some things won’t “keep” well–like crayons or regular play-dough or batteries.
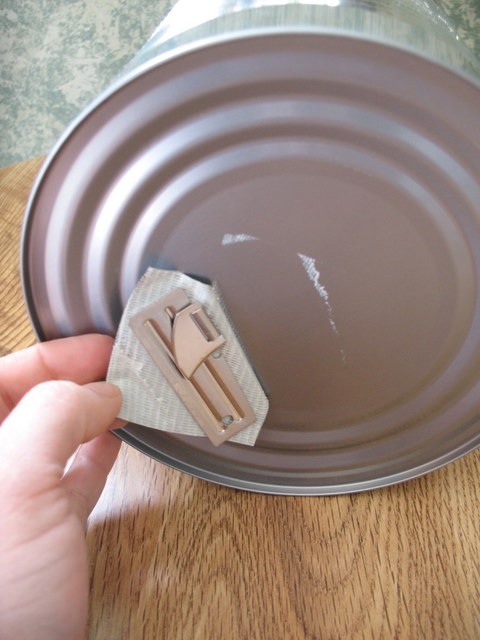
Because we packed these at an emergency prep fair, they were adding the mini can openers to the bottom of the can. You sure wouldn’t have to go to that trouble, but do make sure you’ve got a manual can opener on hand so you can get it open!
Once you have it packed, put it away in the long term food storage. It’s pretty easy to stash it in the back of the food storage room and forget about it (just like those 10 year old peaches on the back of the shelf at grandma’s). This is not a high priority preparedness item, but just being able to pull out something new will be a huge morale boost and/or distraction for the little ones.
What else could you put in a boredom buster can?
http://foodstorageandsurvival.com/th...om-buster-can/
Last edited by AirborneSapper7; 01-12-2012 at 03:48 AM.
Join our efforts to Secure America's Borders and End Illegal Immigration by Joining ALIPAC's E-Mail Alerts network (CLICK HERE)
-
04-09-2011, 01:01 AM #628Senior Member
- Join Date
- May 2007
- Location
- South West Florida (Behind friendly lines but still in Occupied Territory)
- Posts
- 117,087
Prepping Online:

http://www.costco.com/Last edited by AirborneSapper7; 01-12-2012 at 03:51 AM.
Join our efforts to Secure America's Borders and End Illegal Immigration by Joining ALIPAC's E-Mail Alerts network (CLICK HERE)
-
04-09-2011, 01:10 AM #629Senior Member
- Join Date
- May 2007
- Location
- South West Florida (Behind friendly lines but still in Occupied Territory)
- Posts
- 117,087

Scrambled Egg Mix - 46 oz

http://beprepared.com/product.asp_Q_pn_ ... 46 ozLast edited by AirborneSapper7; 01-12-2012 at 03:51 AM.
Join our efforts to Secure America's Borders and End Illegal Immigration by Joining ALIPAC's E-Mail Alerts network (CLICK HERE)
-
04-09-2011, 01:13 AM #630Senior Member
- Join Date
- May 2007
- Location
- South West Florida (Behind friendly lines but still in Occupied Territory)
- Posts
- 117,087
Canned Bacon

Have delicious bacon with these easy to store cans. We've taste tested it and loved it!
Heat pasteurized in a sealed can
100% USDA Bacon, Packed in the U.S.
No refrigeration before opening
2-year manufacturer shelf life guarantee. Up to a 10-year shelf life
Compact & lightweight (only 4.5" high, 3" wide & weighs only 9oz)
Approximately 50 slices per can
Great for emergency storage and camping or backpacking
http://beprepared.com/product.asp_Q_pn_ ... ed%20BaconLast edited by AirborneSapper7; 01-29-2012 at 10:33 PM.
Join our efforts to Secure America's Borders and End Illegal Immigration by Joining ALIPAC's E-Mail Alerts network (CLICK HERE)


 Reply With Quote


Weird: Man Who Plotted White House UFC Attack Is An Illegal Alien
06-21-2026, 07:35 AM in General Discussion