

Results 11,941 to 11,944 of 11944
 226Likes
LinkBacks (?)
-
12-26-2016, 11:32 AM
-
09-02-2016, 05:39 PM
-
whole garden made with pallets!! Love it!! | Pallets | Pinterest | Pallets, Pallets Garden and Wooden Pallets
Refback This thread03-06-2016, 11:30 AM -
10-20-2015, 05:29 PM
-
06-12-2015, 08:00 PM
-
02-26-2015, 01:58 PM
-
01-05-2015, 04:13 PM
-
12-19-2014, 10:19 AM
-
EMERGENCY: HUGE FEMA PANDEMIC EXERCISE IN USA IN NOVEMBER, INTERNET SHUT DOWN PART OF EXERCISE | Prepare4Survival
Refback This thread12-03-2014, 10:39 PM -
Off Grid World ? Ugly Duckling Shipping Container Home Built by Artist Is a Beautiful Swan on the Inside
Refback This thread11-25-2014, 03:10 PM -
11-17-2014, 10:59 PM
-
11-13-2014, 11:18 AM
-
11-09-2014, 02:54 PM
-
10-28-2014, 11:38 PM
-
10-26-2014, 05:54 AM
-
10-16-2014, 11:28 AM
-
10-03-2014, 01:25 PM
-
10-02-2014, 09:16 PM
-
09-26-2014, 07:00 PM
-
09-26-2014, 01:56 PM
-
09-19-2014, 04:46 PM
-
09-13-2014, 05:49 AM
-
09-05-2014, 01:52 PM
-
09-01-2014, 09:39 AM
-
08-30-2014, 06:29 PM
-
08-10-2014, 06:29 AM
-
08-04-2014, 05:07 PM
-
07-23-2014, 11:14 AM
-
New Evidence on Expiration Dates | Medical Preparedness | Doom and Bloom (TM) | Doom and Bloom (TM)
Refback This thread07-22-2014, 10:10 AM -
07-18-2014, 08:37 PM
-
07-15-2014, 04:57 PM
-
07-11-2014, 01:40 AM
-
04-22-2014, 11:14 AM
-
04-18-2014, 12:57 PM
-
04-18-2014, 10:10 AM
-
04-14-2014, 12:18 AM
-
04-12-2014, 02:28 AM
-
03-02-2014, 11:43 PM
-
12-24-2013, 11:59 PM
-
12-07-2013, 11:04 PM
-
kitchen | Cob
Refback This thread11-25-2013, 03:24 PM -
10-22-2013, 10:25 PM
-
Apple Pie Braid | Sweets
Refback This thread09-26-2013, 07:58 AM -
09-02-2013, 04:44 PM
-
5 Reasons Why You May have to Bug Out Even Though You Don’t Want to | The Apartment Prepper's Blog
Refback This thread08-23-2013, 03:20 PM -
06-27-2013, 06:30 AM
-
06-23-2013, 08:11 PM
-
06-17-2013, 11:21 PM
-
05-24-2013, 05:06 PM
-
To Eat / BASIC LIST / SUGGESTED ITEMS FOR LONG TERM SURVIVAL - Page 275 - ALIPAC
Refback This thread05-01-2013, 03:49 AM
Thread Information
Users Browsing this Thread
There are currently 2 users browsing this thread. (0 members and 2 guests)
 LinkBack URL
 About LinkBacks
-
09-26-2026, 08:55 PM #11941Senior Member


- Join Date
- Aug 2018
- Posts
- 97,635
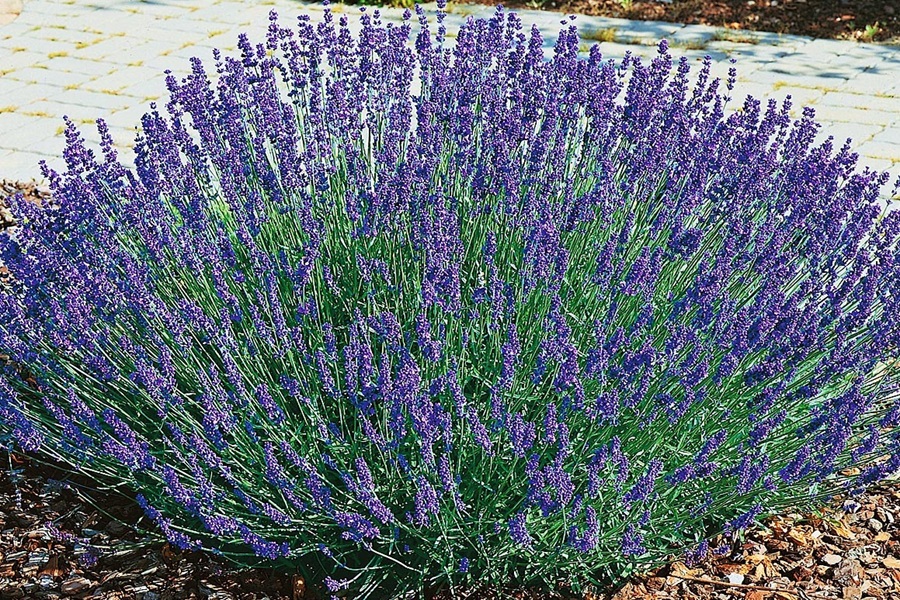
8 Mosquito Repelling Plants Proven to Keep Pests Away
Mosquitoes are more than just an annoyance, they can make outdoor spaces uncomfortable and, in some areas, pose health risks. During warmer months, even a …
Read Moreabout 8 Mosquito Repelling Plants Proven to Keep Pests Away

12 Early Warning Signs a Major Crisis Could Be Coming
Major crises rarely happen completely without warning. In many cases, there are subtle signs that begin to appear long before a situation escalates into a …
Read Moreabout 12 Early Warning Signs a Major Crisis Could Be Coming
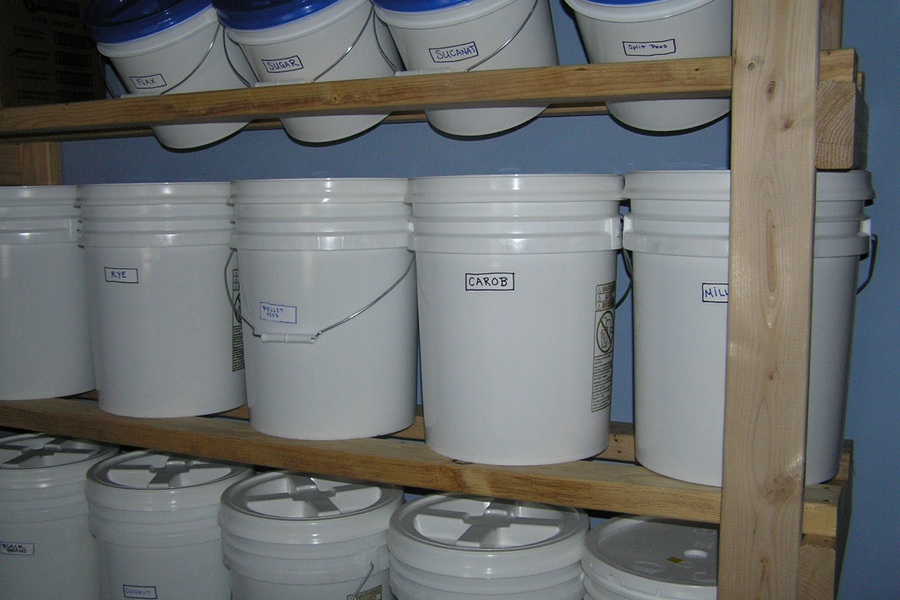
Food Storage Buckets for Prepping: A Complete Guide
Food storage buckets are one of the simplest and most effective ways to store large amounts of food for the long term. They are widely …
Read Moreabout Food Storage Buckets for Prepping: A Complete Guide

14 Survival Supplies Most Emergency Kits Are Missing
When people start preparing for emergencies, they usually focus on the most obvious supplies; food, water, flashlights, and batteries. These essentials are important, but many …
Read Moreabout 14 Survival Supplies Most Emergency Kits Are Missing

20 Survival Foods With the Longest Shelf Life
When preparing for emergencies, one of the most important considerations is food storage. In uncertain situations, having a reliable supply of long-lasting food can provide …
Read Moreabout 20 Survival Foods With the Longest Shelf Life

8 Food Preservation Methods: How to Store Food Safely
Food preservation is one of the most important skills for anyone focused on self-reliance. It allows you to extend the life of food, reduce waste, …
Read Moreabout 8 Food Preservation Methods: How to Store Food Safely

How Long Can You Store Water? The Ultimate Safety Guide
Water is one of the most critical resources in any preparedness plan, yet it’s often misunderstood when it comes to storage. Many people assume that …
Read Moreabout How Long Can You Store Water? The Ultimate Safety Guide

10 Crises That Could Trigger Panic Buying Across the Country
In times of uncertainty, people often react quickly to protect themselves and their families. One of the most visible reactions during a crisis is panic …
Read Moreabout 10 Crises That Could Trigger Panic Buying Across the Country

16 Things You Should Do Immediately When the Power Goes Out
Power outages can happen unexpectedly and often without warning. Severe storms, equipment failures, accidents, and grid problems can all lead to sudden blackouts that disrupt …
Read Moreabout 16 Things You Should Do Immediately When the Power Goes Out

7 Pine Sap Uses: How to Turn Tree Resin Into Survival Tools
Pine sap is one of the most overlooked natural resources, yet it offers a surprising range of practical uses in both survival and everyday situations. …
Read Moreabout 7 Pine Sap Uses: How to Turn Tree Resin Into Survival Tools

How to Prepare for 30 Days Without Grocery Stores
Most people rely on grocery stores for their daily food supply. Fresh deliveries arrive constantly, and store shelves are usually restocked every day. Because of …
Read Moreabout How to Prepare for 30 Days Without Grocery Stores

How to Start Rainwater Collection for Long‑Term Water Security
Rainwater collection is one of the most practical and accessible ways to increase your water independence. It allows you to capture a free and renewable …
Read Moreabout How to Start Rainwater Collection for Long‑Term Water Security

How to Start a Fire in the Rain: Tips That Actually Help
Starting a fire in the rain is one of the most challenging but essential survival skills. Fire provides warmth, helps dry clothing and gear, allows …
Read Moreabout How to Start a Fire in the Rain: Tips That Actually Help

9 Food Storage Ideas: Simple Ways to Extend Shelf Life
Food storage is often associated with emergencies, but in reality, it’s a practical system that supports everyday life as much as long-term preparedness. Having a …
Read Moreabout 9 Food Storage Ideas: Simple Ways to Extend Shelf Life

Homesteading Ideas: Easy Ways to Start Self‑Reliant Journey
Homesteading today is less about isolation and more about control, control over your food, resources, and daily systems. It doesn’t require large amounts of land …
Read Moreabout Homesteading Ideas: Easy Ways to Start Self‑Reliant Journey

5 Homemade Mosquito Traps: Simple Methods That Work
Mosquitoes are more than just a nuisance, they can make outdoor spaces uncomfortable and, in some regions, carry diseases. During warmer months, even a small …
Read Moreabout 5 Homemade Mosquito Traps: Simple Methods That Work

How to Trap a Mouse: Effective Methods for Home Use
Mice are one of the most common household pests, and once they get inside, they rarely stay unnoticed for long. They contaminate food, damage materials …
Read Moreabout How to Trap a Mouse: Effective Methods for Home Use

Best Foods to Stockpile for Long‑Term Survival
Stockpiling food is one of the most effective ways to build security and stability into your daily life. It protects you from short-term disruptions, reduces …
Read Moreabout Best Foods to Stockpile for Long‑Term Survival

Foraging Wild Teas: Safe Plants and Brewing in the Wild
By using plants found in your environment, you can create warm, nutrient-rich drinks with minimal equipment. It’s a small skill, but one that adds comfort, …
Read Moreabout Foraging Wild Teas: Safe Plants and Brewing in the Wild
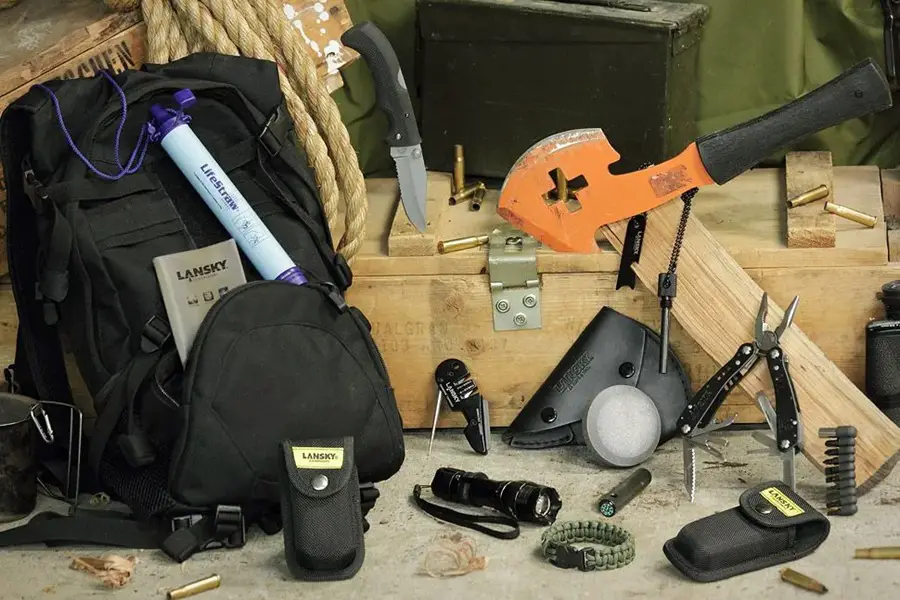
17 Prepper Tips for Beginners That Make a Real Difference
When you first get into prepping, the focus often falls on buying the right gear. Like most beginners, it’s easy to jump in quickly, purchase …
Read Moreabout 17 Prepper Tips for Beginners That Make a Real Difference
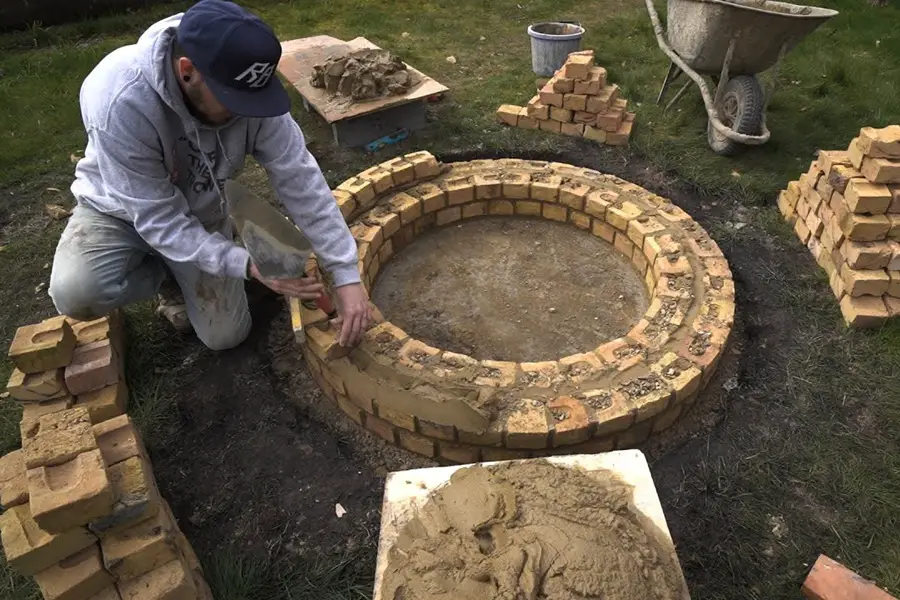
How to Build a Fire Pit: Step-by-Step Guide for Beginners
Fire is one of the most essential survival tools you can have. It provides warmth, a way to cook food, a signal for help, and …
Read More
SHTFPreparedness - SHTFPreparedness - Emergency, Survival & Prepping TipsIf you're gonna fight, fight like you're the third monkey on the ramp to Noah's Ark... and brother its starting to rain. Join our efforts to Secure America's Borders and End Illegal Immigration by Joining ALIPAC's E-Mail Alerts network (CLICK HERE)
-
09-26-2026, 09:42 PM #11942Senior Member
- Join Date
- Aug 2018
- Posts
- 97,635
5 Healing Homemade Soap Recipes
1 Comment
2.4Kshares
Pin51.0K
Share2.3K
Tweet
Email
The ability to make healing homemade soap recipes will get you one step closer to the ultimate goal of self-sufficiency.
Even better, you will never have to buy soap again if you learn to make them yourself. Additionally, they can promote healing for a number of ailments!
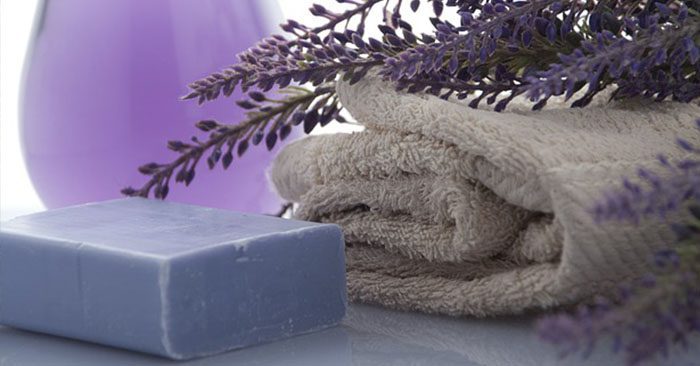 You may think of soap as a simple cleaning agent for your body that helps remove all the dirt and grime that your skin picks up after a long day at work. But there’s actually a lot more to soap than just that!
Composed of the right ingredients, soaps can also have certain healing properties that improve health and well-being. This is amazing, imagine just having a bath or a shower, and you are infusing natural properties into you, making you feel better!
Soap & Hygiene When SHTF
No products found.
One of the dangers of a SHTF situation is going to be a lack of basic hygiene. We can look back in history and see the effects of poor hygiene on a population. They are pretty stark! It is never long before you have a serious disease outbreak.
Without plenty of running water and access to solvents, like soap, you will see things like Typhus break out. And that can happen fast.
In fact, there was even a recent outbreak in LA County, California! This just happened in the last few months, a time when modern methods of personal hygiene are readily available.
Imagine a collapsed landscape where clean water is a commodity as well as things like soap and toothpaste.
What you will realize is that knowing how to make soap from scratch will be an incredible skill to take into the SHTF scenario. There are many reasons for this, but the most important is to control the reign of disease.
We all invest in guns and ammunition to fight bad people. Why not invest in this skill to fight off the bad germs?
Try to learn some simple healing homemade soap recipes to make your soap-making experience a delightful and relaxing one.
 2.4Kshares
Pin51.0K
Share2.3K
Tweet
Email
By Author SHTFPreparedness
Posted on Last updated: May 6, 2024
Categories
DIY
5 Healing Homemade Soap Recipes - SHTFPreparednessIf you're gonna fight, fight like you're the third monkey on the ramp to Noah's Ark... and brother its starting to rain. Join our efforts to Secure America's Borders and End Illegal Immigration by Joining ALIPAC's E-Mail Alerts network (CLICK HERE)
-
09-26-2026, 09:48 PM #11943Senior Member
- Join Date
- Aug 2018
- Posts
- 97,635
Simple Homemade Bread Recipe
Now PlayingI love bread, especially homemade bread. This simple homemade bread recipe is not only easy to make, but it’s also simply delicious.
When I first learned to make this recipe I’ll share today, I made it every few days for over three years.

Nothing compares to the smell of a fresh loaf straight from the oven.
It has only a few ingredients and requires no kneading. Best of all, you can extend indefinitely without additional yeast as long as you make a batch once a week.
Ahh Bread
When I was young, my fondest memory of sick days was being home while my mom made bread. The smell, the taste of a still-warm slice loaded with melting butter. That’s what really made me better again.
Fast forward to the summer of 2010. I was reading “One Second After” and everything changed. A month into the incident the characters resorted to mixing grass and sawdust into biscuits to fill their stomachs. This scared the hell out of me!
I immediately did the calculations. How many pounds in a bag of flour? Are there three or four cups of flour in a pound? How many cups in a loaf? Do we eat one loaf a day or two?
I’ll spare you the advanced calculus. One 25 lb bag of flour will last my family almost 30 days – if we eat one loaf a day.
I picked up three bags of flour on the way home.
I’ve since learned to make my own I’m really into it. Sunday night’s dinner of pasta or roasted chicken isn’t complete without a loaf right out of the oven.
Easy Homemade Bread Method
There are several things I like about this recipe. The main one is that it’s easy. I’ve derived this simple homemade bread recipe from “Artisan Bread in 5 Minutes a Day” by Jeff Hertzberg and Zoe Francois.
It literally takes 5 minutes each time you touch the dough which is about once a day. Honestly, the only thing I’ve done differently is to increase the loaf size so that it doesn’t disappear so quickly.
The basic premise is that good bread requires long gluten protein chains. These are formed in one of two ways: physical agitation (kneading) or time and humidity. This second method is what makes this recipe so easy.
Adding more water and time enables this recipe to remove the tiring and implied complexity of kneading.
So, let’s get you on your way to a warm slice of homemade bread. The exact recipe is listed below, so I’ll just cover the highlights here.
Step 1: Mix
The first step is to mix the ingredients thoroughly. Um, I wish it were more complicated but it’s not.
It will be wet. It will be sticky. This is good!
If you are using bread flour, you will need to add a little extra water. If it is winter time you will need to add extra water. The dough needs humidity for the gluten to form.
Step 2: Rise, Rest

Once it is mixed, put it in a warm stop to rise. For me, this takes 4 hours. The longer the better. The more time the dough sits the richer the flavor.
Once it has doubled in size, put it in the fridge to rest.
Fridge time is a minimum of 6 hours and up to 1 week. Again, the longer the better.
Secret #1
If you are running low on yeast, you can use less than 1½ tablespoons, it will just take longer for the initial rise.
Secret #2
I came up with this second secret one day when I ran out of yeast.
You can reserve a half cup of dough (a small ball in the palm of your hand) and add it to the next batch. This works great if you are making this bread on a regular basis. We make two loaves a week from this simple homemade bread recipe and always have dough in the fridge.
Cut the chunk up and add it to the water and mix it well. You want to break it down so it can mix in with the rest of the added ingredients.
I’ve done this with great success, adding no additional yeast for six months.
Step 3: Cook
When you are all through the initial steps and are ready to cook separate out half the dough and shape it. There is no good way to describe the “gluten cloaking” process. Watch this video for a great description.
Place your shaped loaf in a warm spot for the second rise and let it go for 40 minutes. Halfway through this turn on the oven.
This recipe is best with a bread or pizza stone however you can work without one. I’ve had good success with a large cast iron pan. In a pinch, a cookie sheet will do.
The important part of the bake is the steam bath. Dedicate an old broiler pan or sheet to the process. You will heat this pan in the oven with your stone, when you add water it will warp.
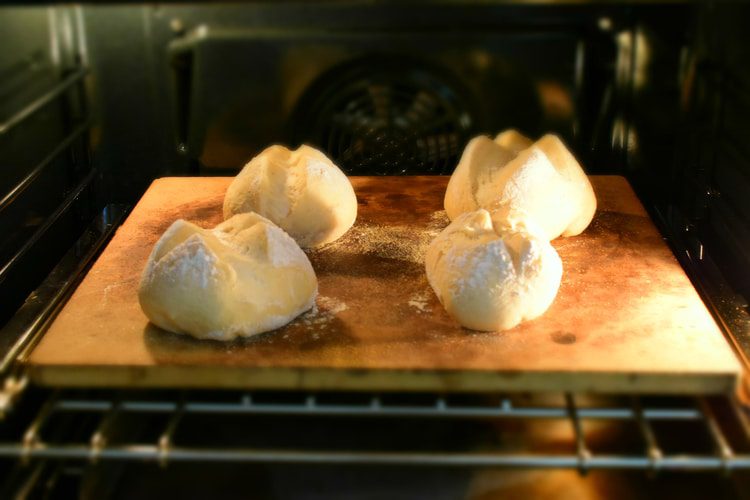
Cook until golden brown.
You can do two loaves at the same time if your oven is large enough. You can also divide the dough into smaller portions and cook for a shorter amount of time to get rolls.
Step 4: Eat and Repeat
When the bread is cooked, resist the urge to cut right in, let it cool completely. At least a little bit…
Warm bread with butter, jam, honey, roasted garlic and olive oil, marrow, oil, and spices. A quiet morning on the porch with your bread, a hot cup of coffee, and no kids… Ok, I’ll stop there; you get the picture.
During the winter we have dough in the refrigerator at all times and make two loaves a week, sometimes four. It’s easy, cheap, and soothes the soul. Repeat – many times.
 CREATE PINTEREST PIN
Simple No-Knead Homemade Bread Recipe
yield: APPROX. 2 LOAVESprep time: 10 MINUTES
cook time: 45 MINUTES
additional time: 12 HOURS
total time: 12 HOURS 55 MINUTES
Homemade bread! ‘Nuf said.
4.5 Stars (15 Reviews)
PRINT
Ingredients
- 6 ½ cup all-purpose or bread flour
- 3 cups warm water (plus 3 tablespoons if using bread flour)
- 1 cup of hot water for use during cooking
- 1½ tablespoons yeast
- 1½ tablespoons salt
- Cornmeal or Semolina flour to dust the resting and cooking surfaces
Instructions
- Mix water, flour, yeast, and salt until fully incorporated (it will be wet and sticky)
- Place the dough in a warm spot until it doubles in size
- Refrigerate the dough a minimum of 4 hours and up to 1 week (I refrigerate for 12 hours)
- Cut off half the dough and shape and cloak into a ball (see video above)
- Place the dough ball on a surface dusted with cornmeal or semolina flour
- Let the dough rise for 40 minutes in a warm spot
- 20 minutes into the rise, set your oven to 450°F.
- Warm the pizza stone or cast iron pan in the oven along with the broiler pan
- When the rise is done, make 3-4 slashes across the top of the dough
- Transfer to the pizza stone/cast iron pan
- Pour 1 cup of hot water into the broiler pan to create the steam bath
- Let cook for 40-45 minutes until golden brown
- Remove from the oven and allow to completely cool
- Slice, slather, enjoy. Note: It’s ok to slice it while warm
- Mix water, flour, yeast, and salt until fully incorporated (it will be wet and sticky)
Notes
If you are making rolls use the following steps:
- When you take half the dough out of the fridge divide into 6 equal pieces
- Shape/cloak each portion into a small roll
- Continue with steps 6-12 however cook for only 20-25 minutes
© Danijel
CATEGORY: Recipes
Wrapping It Up
Did I mention I love bread?
When we purchased our little corner of off-grid paradise, it wasn’t complete until I could make a fresh loaf (and I stashed 100 lbs of flour).
We arrive Friday night and the first thing I do is mix up a batch of dough. Saturday morning the family wakes up to the smell of fresh bread and we enjoy it with coffee, silence, and the view of God’s glory from the front porch.
Bread is the cornerstone of a good meal and for a prepared family. It can extend meals and lift moods. Being able to make your own is easier than you know.
This is a skill that is worthy of your toolkit.
Give this simple homemade bread recipe a try. With 25 pounds of flour, a few packets of yeast and other ingredients you can fill bellies and provide a bit of yum on the good days and normalcy in trying days.

5.4KSHARES
Pin874
Share4.5K
Tweet
By Author M. I. Grey
Posted on Last updated: June 28, 2024
Categories
Food & Water, RecipesIf you're gonna fight, fight like you're the third monkey on the ramp to Noah's Ark... and brother its starting to rain. Join our efforts to Secure America's Borders and End Illegal Immigration by Joining ALIPAC's E-Mail Alerts network (CLICK HERE)
-
09-26-2026, 09:52 PM #11944Senior Member
- Join Date
- Aug 2018
- Posts
- 97,635
Master Terafan Greydragon's
Mead ( or Honey based) Recipes

Mead, using a 13th/14th century English manuscript
The “Tractatus de magnete et operationibus eius”
England, 13th century
Updated 13 Sep 04
Master Terafan's Clove Mead
Add the honey to one gallon of boiling water. Turn off the heat and stir well. Slice or juice the lemons and add along with the clove and tea. Let stand covered until cool. Pour into a gallon jug and add the yeast. Epernay II yeast works very well, but champagne yeast or ale yeast are also fine.Ingredients 1 Gallon Water 3 lbs Honey (1 quart) 1 Lemon 12 Cloves 1 cup strong tea Epernay II yeast
Let it ferment for 18 days, and then siphon into bottles. Seal or cap the bottles and let sit at room temperature for two weeks, then put in the refrigerator. You can drink it at any. time now.
Syr Michael of York Mead
Syr Michael of York, raised in the East Kingdom, wrote the original article in the Knowne World Handbook on brewing. He has won East Kingdom brewing competitons several times with this recipe.Ingredients
1 Gallon Water 2 1/2 lbs Honey 1 Lemon 1/2 tsp Nutmeg 1 pkg Ale or Champagne yeast
Boil the water and honey. Add the juice of the lemon and the nutmeg. Boil, skimming the foam that rises to the surface, until it stops foaming. Let cool to blood temperature, actually under 90 degrees F, then pitch the yeast.
Let it work two and a half weeks, bottle it and let it age two weeks.
PUT IT IF THE REFRIGERATOR, AS IT CAN BECOME EXPLOSIVE IF LEFT OUT AFTER THIS.
Drink at your leisure!
Maple Mead
This mead was made from an original recipe I developed when I was staring into my larder one day. Looking for some breakfast and staring at a bottle of pure maple syrup, I realized that syrup would ferment with honey, just like fruit. Drawing upon (at that time) 3 years of brewing experience, I came up with the following recipe for 1 gallon:
Boil some water and pour about 4 oz into a cup with a single teabag. Let this sit for a couple of hours. Boil honey with 7 cups of water until it stops foaming, then add maple, brown sugar, lemon, and tea. Turn of the heat and let cool. Pitch yeast when approximately 70 degrees F.Ingredients
3 lbs Honey 3 TBS lemon juice 1/4 cup brown sugar 4 oz very strong tea 3 fluid oz of Pure maple syrup yeast according to preference
I tried hard to stick to 'period' ingredients like lemon juice and tea (instead of using chemicals). The lemon juice adds acidity and the tea adds tannin.
Let it ferment for a month, and then rack into a secondary. After about 2 more months, rack again and taste. If you like it, bottle it. If not, let it sit another couple of months and then bottle. If you don't like sweet meads, you can cut the honey down to either 2 or 2 1/2 lbs. Drink at your leisure!
White Pyment
This pyment was made when I first started brewing, and was focused on success rather than period techniques. It is from a recipe in Acton and Duncan's Brewing Mead, in the section on Melomels, Hippocras, Pyment, and Cyser. Although mead is called melomel when fruit has been added, when the fruit is grapes it is called pyment. This is white pyment because white grape juice is used (as opposed to red). I used for following for 5 gallons:
Boil honey and water until it stops foaming, then add remainder of ingredients except yeast, and turn off the heat. Let cool and pitch yeast when approx 70-80 degrees F.Ingredients
9 lbs honey Four 12oz cans white grape juice concentrate 5 tsp yeast nutrient 1/3 oz grap tannin 2 1/2 oz malic acid Sauternes yeast
Rack into a secondary after one month. After 2 more months, rack again and taste. At this point, I found it dry and so added 1 lb of honey to the 5 gallon batch. After 2 more months, rack again, and taste. if you like, bottle it, otherwise let it sit some more.
Master Robyyan's Quick Mead or Weak Honey Drink
Drinks of fermented honey and water are some of the earliest known to man. This weak honey drink is based on a recipe from Sir Kenelme Digbie's Closet, although Robyyan has modified it.
Original recipe (Digbie, p. 124):
Take nine pints of warm fountain water, and dissolve in it one point of pure white honey, by laving it therein , till it be dissolved. Then boil it gently , skimming it all the while, till all the scum be perfectly scummed off; and after that boil it a little longer, peradventure a quarter of ah hour. In all it will require two or three hours boiling, so at least one third part may be consumed. About a quarter of an hour before you cease boiling, and take it from the fire, put to it a little spoonful of cleansed and sliced Ginger; and almost half as much of the thin yellow rind of Orange, when you are even ready t take it from the fire, so as the Orange boil only one walm in it. Then pour it into a well glassed strong deep great Gally-pot, and let it stand so, till it be almost cold, that it be scarce Luke-warm. Then put into it a little silver spoonful of pure Ale-yeast and work it together with a Ladle to make it ferment: as soon as it beginneth to do so, cover it close with a fit cover, and put a thick dubbled woollen cloth about it. Cast all things so that this may be done when you are going to bed.
Next morning when you rise, you will find the barm gathered all together in the middle; scum it clen off with a silver spoon and a feather, and bottle up the Liquor, stopping it very close. It will be ready to drink in two or three days, but is will keep well a month or two. It will from the first, very quick and pleasant.
Master Robyyan's recipe:
Add one. pound of honey to 5 quarts of water, bring the mixture to a simmer and skim the foam as it rises, until there is no more foam, approximately 30 minutes. Add approx. 2 tbsp. coarsely chopped fresh ginger, the juice of one lemon, and 8 cloves, stuck into the lemon peel for easy removal. Boil for 15 minutes, then remove from the heat and cool to lukewarm. Place the wort in a jug, straining the ginger and lemon pieces out. Add 1/4 tsp. ale yeast, and fit a fermentation lock.
After 48 hours, bottle and store at room temperature. After 48 hours in the bottle, refrigerate.
Gyrth's Quick or "Short" Mead
Ingredients What follows is a step by step explanation from Duke Sir Gyrth Oldcastle of Ravenspur on exactly how he makes mead:
2 quarts honey 5 gal water 2 cups strong tea 1 teaspoon ginger 1 teaspoon nutmeg 2 teaspoons cinnamon 3-5 lemons Mead yeast A plastic sieve wooden spoon big pot 5 gallon jug or carboy thermometer all yours and everyone else's
used coke or beer bottles
First, boil water. I make two batches at a time with a three gallon pot. Add honey on a one part honey to nine parts water basis. (Honey weighs 12 lb. to the gallon.) I use a quart per 2 1/2 gallon batch. Stir it about to dissolve the honey in the water. 7he honey will sink to the bottom of the pot and burn unless stirred at first. When the mixture is bubbling happily, a whitish scum will riser to the surface. Spoon it away.
Scum removal is a topic of controversy among brewers. Some maintain that complete removal is the only way to go,- others like myself skim until there's only a very little left. Suit yourself.
Remove from heat and add one cup of very strong tea (2 cups per 5 gallons) (From herein on I assume that the measurements are for 5 gallons of mead)), 1 teaspoon of ginger, 1 teaspoon of nutmeg, and 2 teaspoons of cinnamon. Then take 3-5 lemons, Slice them thin, and throw them in. Let the lemons steep in the must (must is what you call incipient mead) for 30 minutes; then remove the slices. The tea and lemon move the pH of the must towards one comfortable for the yeast.
Let the whole caboodle cool to about 80-85 degrees F. Then introduce your yeast to it, cap it with an airlock, and stand back. Afier 5 days taste it. If too sweet, let it continue; if too alcoholic (unlikely) add more boiled honey and water. Keep tasting daily until sweetness and alcohol balance each other out. Syphon it off into bottles and refrigerate. If not refrigerated, it will get progressively less sweet and slide irrevocably into undrinkability. Let stand 2-5 weeks. Drink and enjoy. it ties up refrigerator space, but tends to be worth it.
NOTE - When refrigerated the mead tends to settle, and at this point I find it advantageous to siphon again into clean bottles, seal tightly, and re-refrigcrate. It makes for a sweeter, more sparkling mead.
Basic Wildflower Mead
Ingredients To one gallon of water add two quarts of honey and the white of one, egg, mixing WELL. Cook the mixture at medium heat on the stove, stirring continuously. When the mix comes to a boil all the scum rises to the top to be skimmed, assisted by the egg white, just like you clear stock. When no more scum rises add the raisin, turn off the heat, and cover overnight. In the morning crush and strain out the raisins, add the yeast, and transfer the liquid (called 'must') to a glass jug with a fermentation lock. Keep any excess to top off the mead after racking.
2 quarts honey (preferrably wildflower) 1 gallon water 1 cup white raisins 1 egg
The first racking should be done after one month and the next when fermentation stops. Rack again about three, months later. It is important to keep the mead topped off to keep the airspace in the bottle to a minimum. When you can read newsprint through the jug of mead, bottle and cork.
Mead RecipesIf you're gonna fight, fight like you're the third monkey on the ramp to Noah's Ark... and brother its starting to rain. Join our efforts to Secure America's Borders and End Illegal Immigration by Joining ALIPAC's E-Mail Alerts network (CLICK HERE)


 Reply With Quote


Email List Changeover & 38 days from disaster
09-27-2026, 11:26 AM in illegal immigration Announcements